Easy Corner to Corner Granny Scarf pattern – Nain Scarf
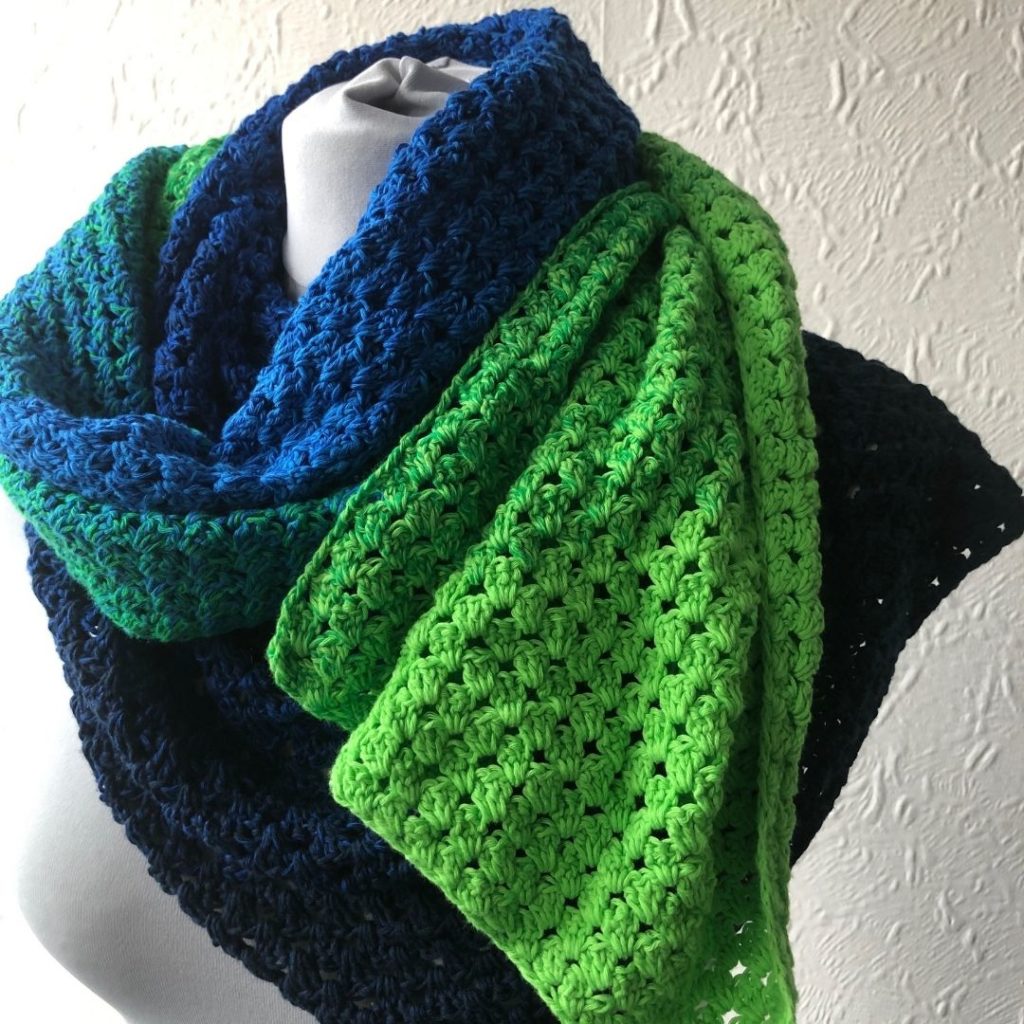
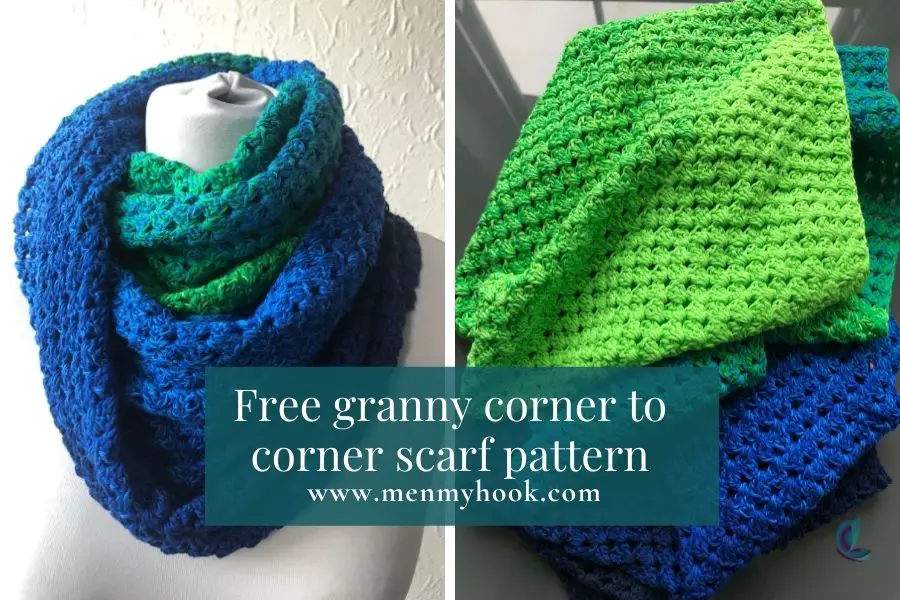
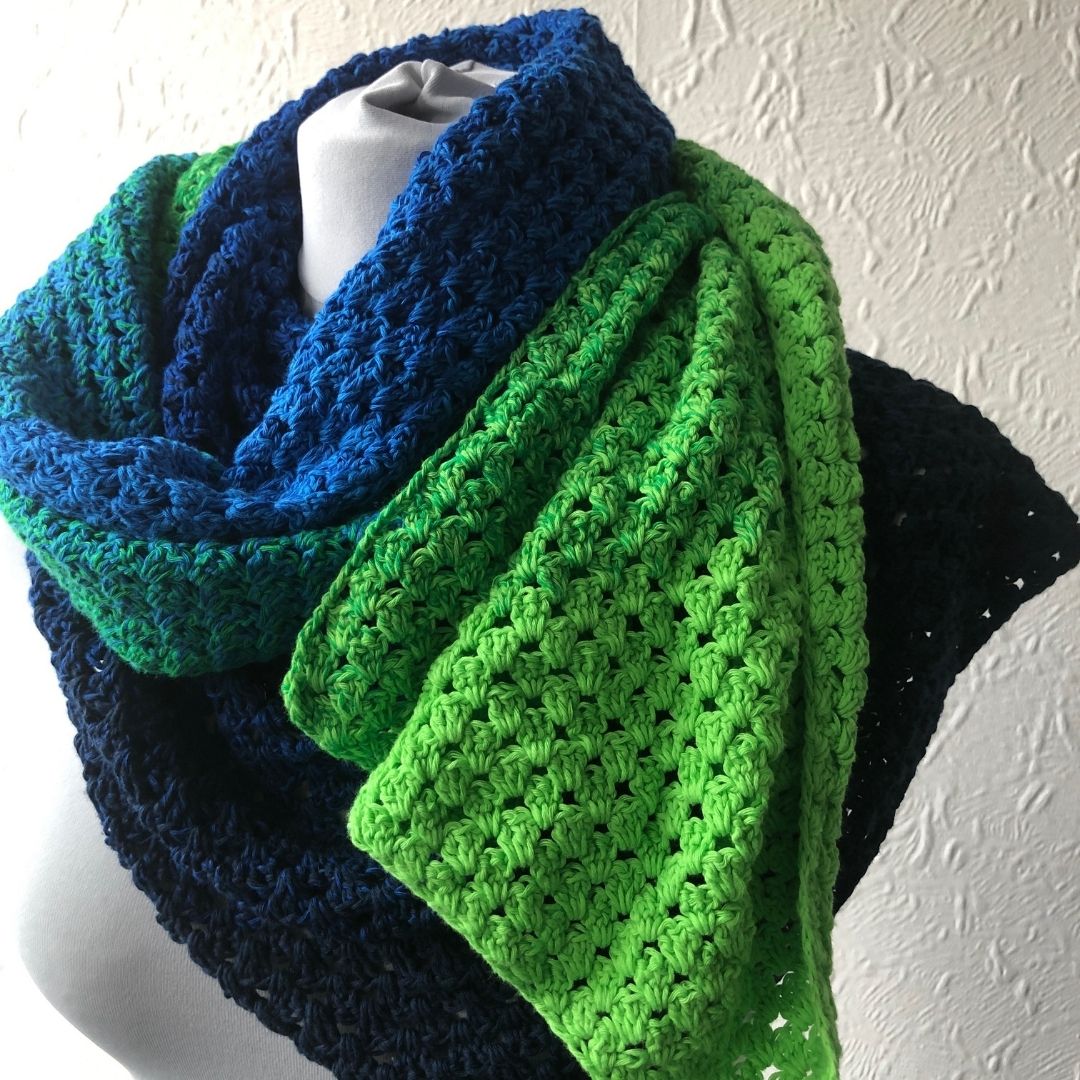
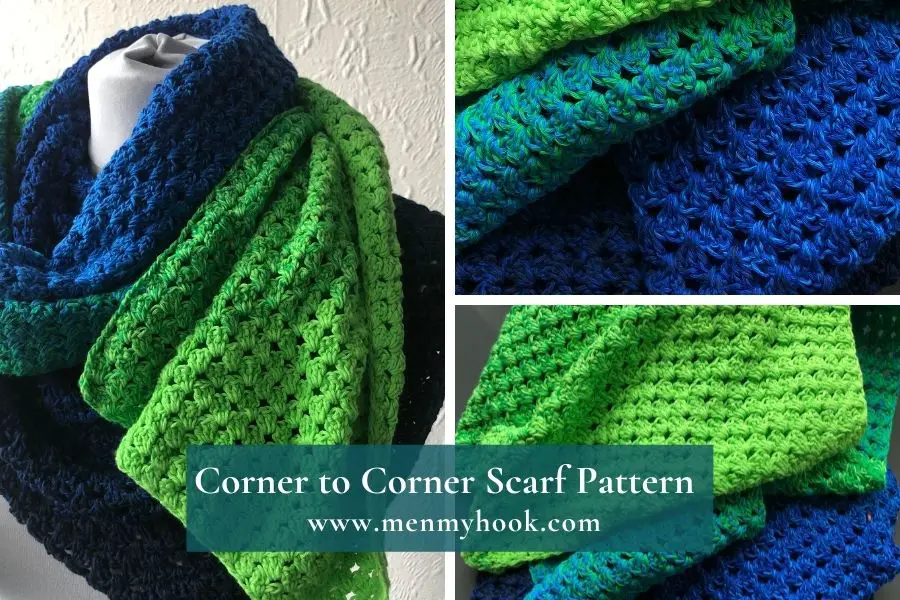
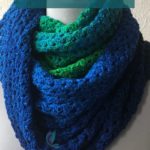
Looking for an easy to make crochet scarf pattern? The Nain Scarf is an easy corner to corner granny scarf pattern. A great alternative way to use the granny stitch, this beginner crochet pattern is versatile and works up quickly. Read on to find out more about how to make your own scarf below.
Nain Scarf inspiration
Recently I asked my email newsletter subscribers to let me have some feedback and answer a short survey into things they would like to learn or improve on in their crochet. One of the answers was the corner to corner technique. This then began a trip down the rabbit hole of creating things for me, but one of the final finished pieces is this easy corner to corner granny scarf pattern. While I am not sure that this is exactly what my readers had in mind, once the idea took hold I could not let it go!
This is also the general reasoning behind the name of this corner to corner scarf pattern – Nain, which translated from Welsh means ‘Granny’.
Corner to corner granny scarf yarn & materials
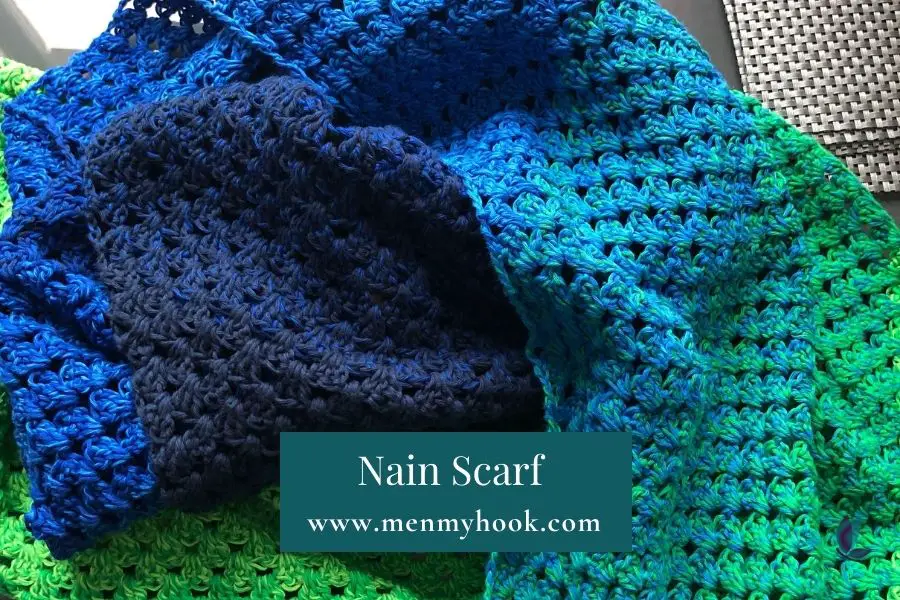
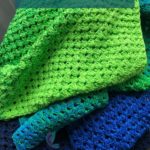
To create my corner to corner granny scarf I used 1 x Sultan Deluxe in Mojave Azurite from Hobbii. This is a 1000m/1092 yds gradient cake made in 100% Cotton. If you are new here, I’m a fan of gradient cakes as I love the colour flow. To find out more about this cake, and similar alternatives from Hobbii, check out the blog post here.
For other designs using this yarn, check out Lena, and Rheanna
For alternative scarf patterns, check out the Linen Stitch Scarf
Nain, easy corner to corner granny scarf pattern info & tips
This granny corner to corner pattern is a super simple and easy to convert scarf pattern. Once you have mastered the rules of the corner to corner technique, you will find it can be easily adapted to create a shawl, wider scarf projects and alternative shapes.
Another great reason to use this easy corner to corner granny scarf pattern is that it will also work in any weight of yarn, or colour palette!
Terms: US crochet terms.
Type: written
Skill level: beginner
Hook: 4mm (or whatever is appropriate for your yarn weight/gauge)
Yarn: 1 x Sultan Deluxe no 17 Mojave Azurite OR 1000m of any 4ply gradient yarn cake/fingering/sport weight yarn
Other materials: stitch markers
Stitches used:
- Chain
- Double Crochet
- Granny Stitch
- Slip Stitch
Nain Scarf Collaborations
Do you LOVE one skein yarn patterns? Ashley from Through the Loop Yarn Craft has put together just the thing for you. Every day in February, you can get a FREE digital download pattern that you can make with a single skein of yarn.
Scarves, hats, baskets and more are included and today, 15th February, is the turn of the Nain Scarf. To find out more about the event, and get your discount code to grab a copy of this easy corner to corner scarf pdf pattern, hit the button below and head over to the main event post
Then hit the button below to check out on Ravelry with your discount code before midnight tomorrow!
FREE Nain easy corner to corner scarf pattern
Nain C2C FREE Pattern
Notes:
- This corner to corner pattern is written without ch1 spaces between granny stitches. If you prefer to ch1, do so.
- This pattern is adjustable and can be used to create a scarf or shawl that is thinner or wider than the design. Either increase or decrease the number of rows BEFORE the initial decrease to create the rectangle shape, and then follow the remaining pattern instructions.
- Ch 3 counts as a stitch
Stitches:
- Chain – ch
- Double Crochet – dc
- Slip Stitch – sl-st
- Granny Stitch – gs* see special stitches below
- Space – sp
- Skip – sk
- Turning Chain – tch
Special Stitches:
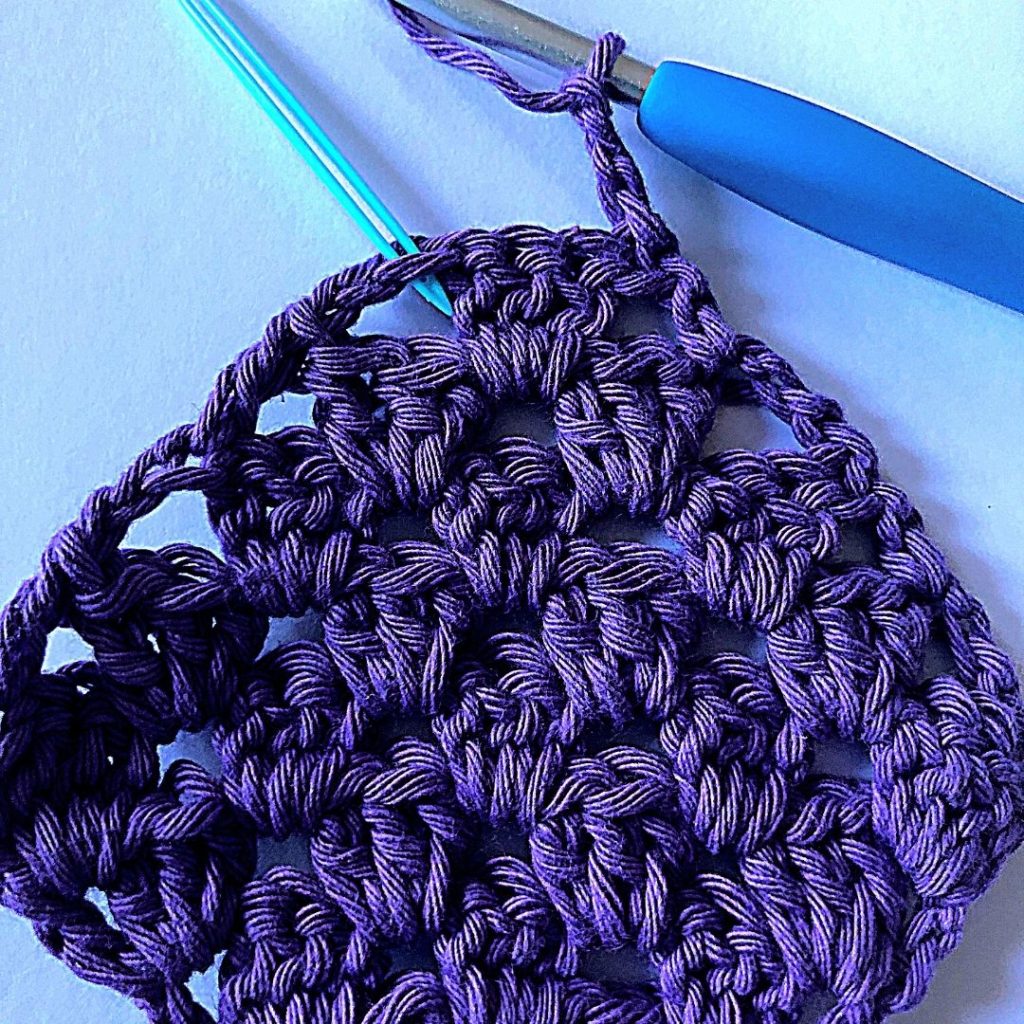
Granny Stitch (gs) – 3dc into the specified space
Gauge: 8gs x 10 rows = 4in
Finished size: 13 x 67 in approx (unblocked)
Start:
Ch3, join with a sl-st into the 3rd chain from the hook to make a ring.
Row 1:
Ch3, 4 dc into the ring. Turn.
Row 2:
Ch3, gs into the space between the 1st and 2nd dc below, sk1 gs, 4dc into the space between the 3rd and 4th dc. Turn
Row 3 – 30:
Ch3, gs into the space between the 1st and 2nd dc below, [sk gs, gs into the space], repeat this to the last sp, 4dc into the space between the last 2 dc. Turn
1st Decrease – here you will begin creating your rectangle
Row 31:
Ch3, sk the sp and gs, gs in the next sp, [sk gs, gs into the sp], repeat this to the last sp, 4dc into the sp between the last 2 dc. Turn
Insert a marker around the last stitch to note the increase side.
Row 32:
Ch3, gs into the sp between the 1st and 2nd dc below, [sk gs, gs into the sp], repeat across till 1 sp remains, dc into the top of the last dc. Turn
Row 33:
Repeat row 31
Row 34:
Repeat row 32
Rows 35 – :
Repeat rows 31 & 32 until your work has reached the desired length on the increase side
Decrease row 1:
Ch3, sk sp and gs, gs into the next sp, [sk gs, gs into the next sp] repeat across until 1 sp remains, dc into the 2nd ch of the tch. Turn
Decrease row 2 – 29:
Repeat decrease row 1 until you have 1 sp, 1 gs, 1 sp remaining.
Final Row:
Ch3, sk sp and gs, dc into the 2nd ch of the tch. Tie off and secure your ends
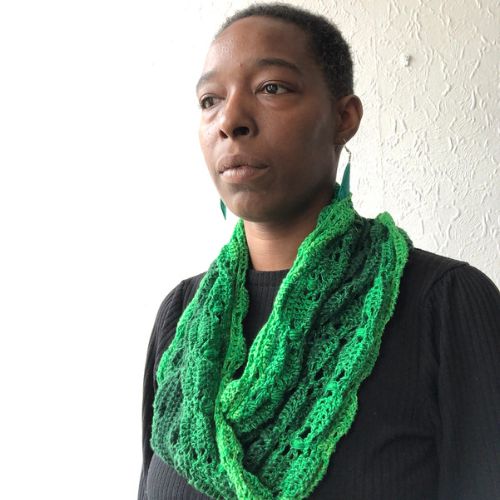
This design can be made into an infinity scarf by seaming the two short ends together with the mattress or whip stitch. OR you could make it wider for a shawl, longer, the options are endless!
I hope you enjoyed the post and look forward to seeing your Nain C2C Scarves!
For other one skein shawl/scarf/wrap patterns, check out Shanae and Colette
Pop into the Facebook Group and let me know what colour you plan to make your wrap in and share your progress.
Bye for now,
B x



I have been wanting to try a c2c project and this looks so pretty cannot wait to try it. Thank you for the inspiration ☺️