How to make an easy granny square bag pattern – Harmony Bag
This post may contain affiliate links. This means I may earn a small commission if you make a purchase from these links, at no additional cost to yourself.
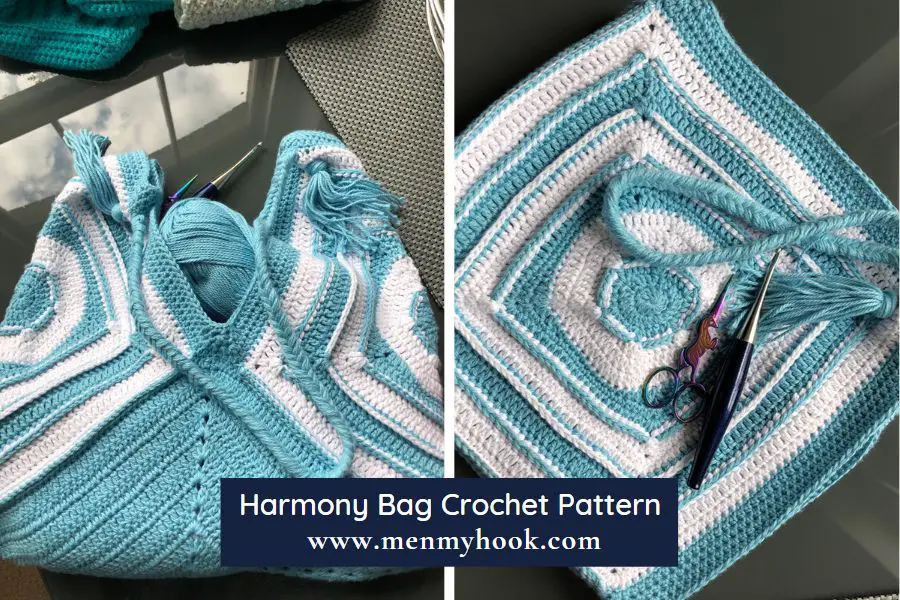
Looking for an easy granny square bag pattern? The Harmony Granny Bag is a super cute beginner crochet bag pattern made from large granny or afghan squares. Read on to find out more about the pattern and how to make your own Harmony Granny Bag
Harmony Granny Square Bag Crochet Along inspiration
Surprise, I love bags and I am definitely in the camp of those who believe one can never have too many bags. After I completed the design for the Harmony Square in the Friendship Blanket CAL, I knew I wanted to do something else with the square but I wasn’t sure what. The Harmony Granny Bag is a blend of all the ideas that I had knocking around to make with a few tweaks.
To check out the Harmony Square that this is inspired by head over to the blog post here
Yarn and Materials
To create my granny square bag I used King Cole Cottonsoft DK in Cloud and White. King Cole Cottonsoft is a dk or 3 weight 100% cotton yarn. To find out more about this yarn check out my post here. For ideas on other projects using this yarn, check out the Marian Bay Bag and the On the Bias Tote.
Easy granny square bag pattern info
The Harmony Granny Bag includes 2 different solid granny square patterns. One simple, one more elaborate but with a simple construction. These are then joined in an unconventional layout and finished with a braided handle.
This easy granny square bag pattern is a great one for beginners as it uses standard crochet stitches and is a great way to gain confidence in making granny squares. The striped pattern is part of the design as it helps to highlight the changes in texture/dimensions of the square and creates extra layer of design / interest without being difficult to work up.
Terms: written in US crochet terms, photo tutorial included in pdf pattern
Skill level: beginner, easy
Hook: 4mm
Yarn: 630m/687yds of my dk or 3 weight yarn, 420m/459yds in Colour A & 210m/229yds in Colour B
Stitches used:
- Chain
- Magic Ring
- Single Crochet
- Half Double Crochet
- Double Crochet
- Slip Stitch
- Back Post Double Crochet
Granny Square Bag tester thanks
Many thanks to Niki and Christopher for helping me with the test for this pattern. Check out their bags below.
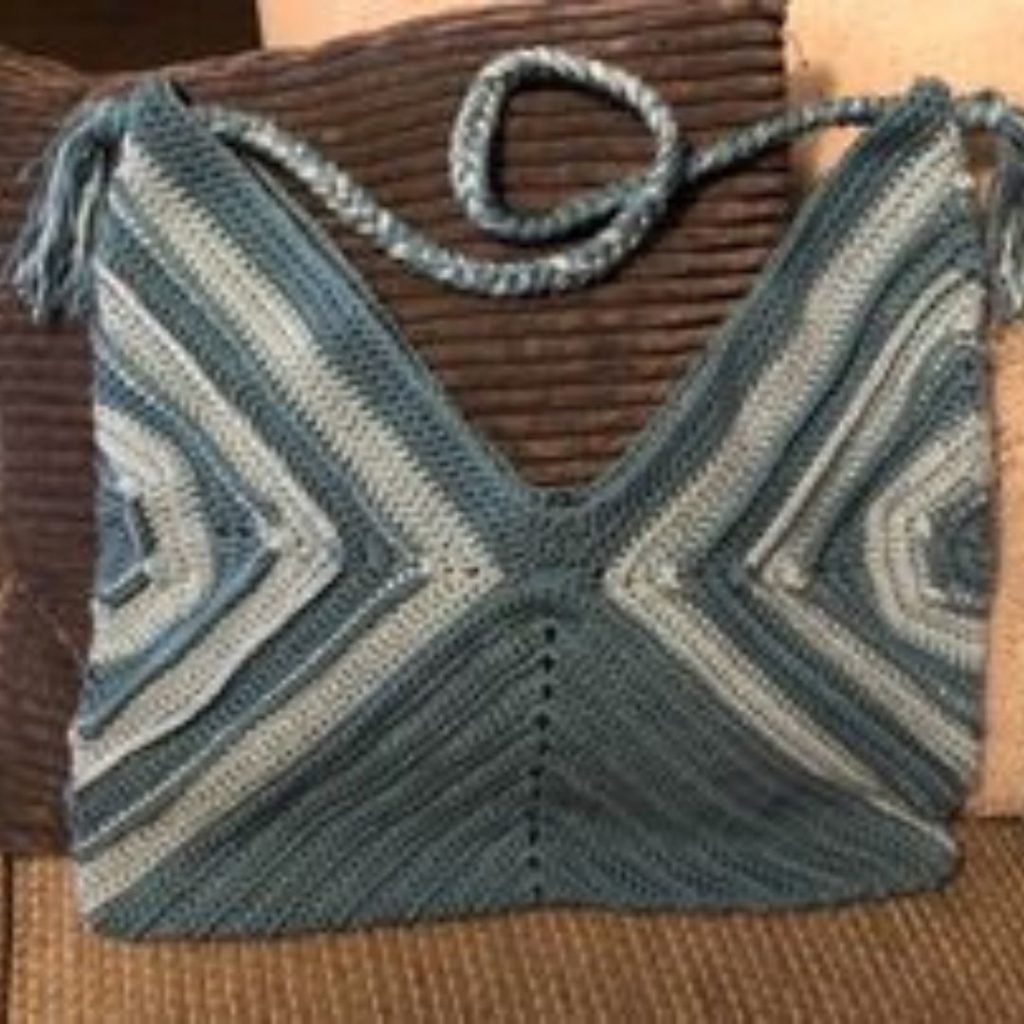

Harmony Granny Bag Collab Mini CAL
The Harmony Bag was featured as a mini CAL over 4 days in the Sunflower Cottage Crochet Community Group and here on the blog. Every day for 3 days the next part of the pattern was released for the granny square bag pattern.

Harmony Granny Square Bag Free Pattern
You will need:
- 250-300g of any dk or 3 weight yarn
- 4mm crochet hook
- Stitch markers, darning needle, scissors,
- Your blocking equipment (optional)
Granny Square bag – base
Skill Level: Beginner
Terms: US Terms
Materials used: approx 60gms of dk weight yarn
Hook: 4mm
Other items: scissors, darning needle, stitch marker
Gauge: 19dc x 10 rows (rounds)
Size: 12ins – unblocked
Notes:
- Notes includes here are for this part of the pattern
- Ch3 at the start of the round counts as a dc
- Ch1 does NOT count as a stitch
- Stitch counts are included at the end of each round in ( ) brackets
- Stitch counts on are for a single side and do not include corners
Stitches:
- Chain – ch
- Magic Ring – mr
- Beginning – beg
- Double Crochet – dc
- Half Double Crochet – hdc
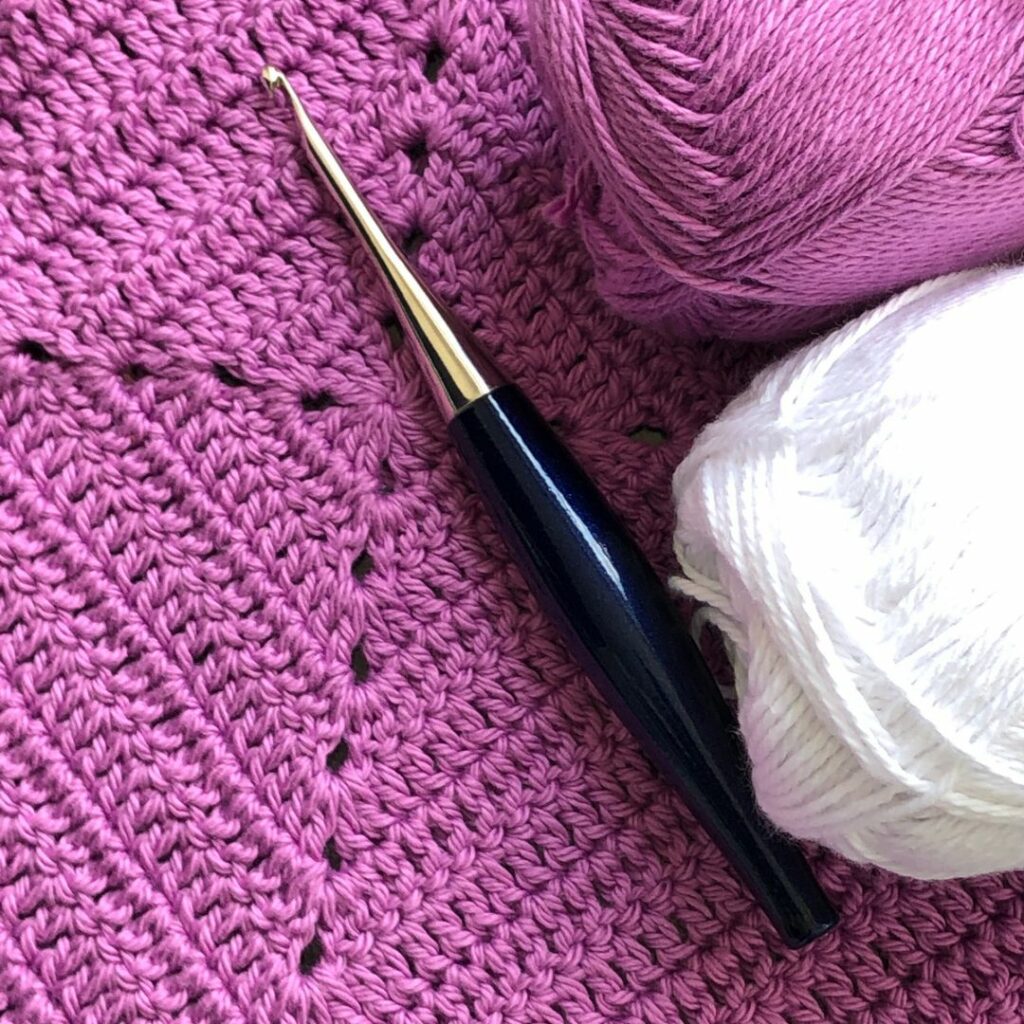
Base
Start:
Mr
Round 1:
Ch3 (counts as dc), 2dc in the ring, ch2, 3dc in the ring, ch2, 3dc in the ring, ch2, 3dc in the ring, hdc join into the top of the beg ch3. (12)
Rounds 2 – 12:
Ch1 (does not count), turn, sl-st into the sp below, Ch3 (counts as a dc, dc into the ch2 sp, dc in every st to the next sp, (2dc, ch2, 2dc) into the next ch2 sp, dc in every st to the next sp] repeat round to the last sp, 2dc in the sp, hdc join into the top of the beg ch3.
Round 13:
Ch1, turn, sl-st into the sp below, Ch3, dc into the sp, dc in every st to the next sp, [3dc in the sp, dc in every st to the next sp], repeat round to the last sp, dc in the sp, join with a sl-st to the top of the beg ch3. (49)
Round 14:
Ch1, 2hdc in the same st, hdc in every st to the next corner, [3hdc in the next st, hdc in every st to the next corner], repeat round, hdc in the base of the beg hdc. Join with a sl-st to the top of the beg hdc. Tie off and secure your ends. (51)
Final size: 12 ins unblocked
Harmony Granny Square Bag – Sides
Make 2
Using Colour A – base colour
Start:
Mr
Round 1:
Ch3, (counts as a dc here and throughout), 11dc into the ring. Join to the top of the beginning ch3 with a sl-st. (12)
Round 2:
Ch3, dc into the same st, 2dc in each st around. Join to the top of the beg ch3 with a sl-st. (24)
Round 3:
Ch3, 2dc into the same st, dc in the next 3 sts, [3dc in the next st, dc in the next 3 sts], repeat round. Join to the top of the beg ch3 with a sl-st. (36) Fasten off Colour B.
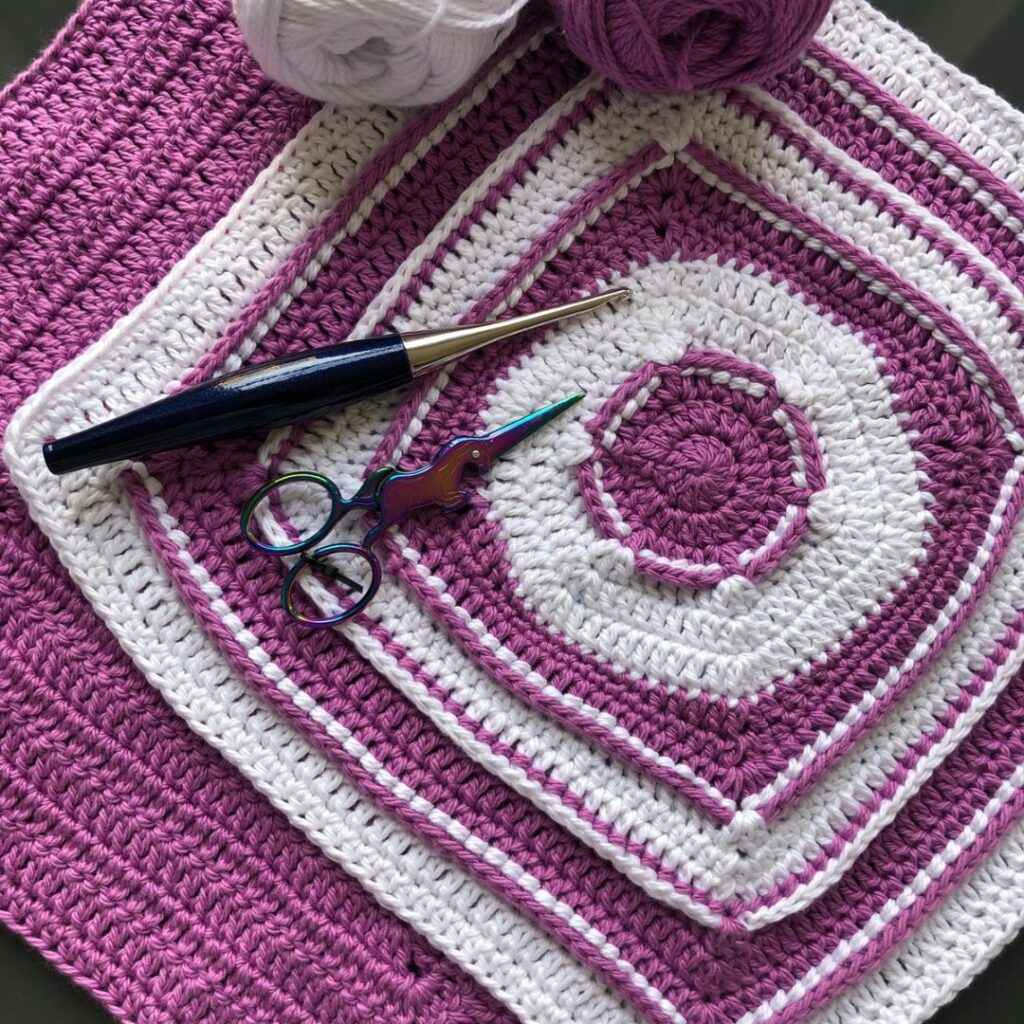
Round 4:
Using Colour B
Join with a standing dc OR sl-st and ch3 into the centre dc of any corner, 2dc in the same st, bpdc in the next 5 sts, [3dc in the next st, bpdc in the next 5 sts], repeat round. Join to the top of the beg stdc/ch3 with a sl-st.
Round 5:
Ch3, [3dc in the next st, dc in the next 7 sts], repeat until 6 sts remind, dc in the next 6. Join to the top of the beg ch3 with a sl-st.
Round 6:
Sl-st into the next st, ch3, 3dc in the next st, [dc in the next 9 sts, 3dc in the next st], repeat round until 8 sts remain, dc in the next 8. Join with a sl-st. Fasten off Colour B.
Round 7:
Using Colour A
Join with a st-dc or sl-st and ch3 in the 6th st of any side, dc in the next 2, hdc in the next 2 sts, sc in the next 9, hdc in the next 2, dc in the next 2, [(dc, ch1, dc) in the next, dc in the next 2, hdc in the next 2, sc in the next 9, hdc in the next 2, dc in the next 2] around, dc in the same st as beginning ch3, ch1, join to the top of the beg ch3 with a sl-st.
(4dc, 4hdc, 9sc per side, not including corners )
Round 8:
Ch1 (does not count as a st), hdc in the same st, hdc in the next 2 sts, sc in the next 13 sts, hdc in the next 3, (dc, ch1, dc) in the ch1 sp, [hdc in the next 3 sts, sc in the next 13 sts, hdc in the next 3 sts, (dc, ch1, dc) in the ch1 sp], repeat round. Join with a sl-st to the top of the beg hdc. (6hdc, 13sc per side, not including corners)
Round 9:
Ch3, dc in the next 19 sts, (2dc, ch1, 2dc) in the ch1 sp, [dc in the next 21 sts, (2dc, ch1, 2dc in the ch1 sp)], repeat to the last ch1 sp, dc in the next st, join to the top of the beg ch3 with a sl-st. (21dc per side not including corners) Fasten off Colour A
Round 10:
Using Colour B
Join in any corner with a st-dc or sl-st ch3, dc in the same sp, bpdc in each st to the next ch1 sp, [3dc in the next sp, bpdc in every st to the next ch1 sp], repeat round, dc in the base of the beg ch3. Join with a sl-st to the top of the beg ch3. (25)
Round 11:
Ch1 (does not count as a st), 2 hdc in the same st, hdc in every st across, [3hdc in the next st, hdc in every st across], repeat round, hdc in the base of the beg hdc. Join to the top of the beg hdc with a sl-st. (27)
Round 12:
Ch3, dc in every st until the next corner, [(dc, ch1, dc) in the spin corner stitch, dc in every st to the next corner)], repeat round, dc in the base of the beg ch3, ch1 join with a sl-st to the top of the beg ch3. (29) Fasten off Colour B
Round 13:
Using Colour A
Join in any corner with a st-dc or sl-st ch3, dc in the ch1 sp, bpdc in every st to the next ch1 sp, [3dc in ch1 sp, bpdc in every st to the next ch1 sp], repeat around, dc in ch1 sp, join to the top of the beg ch3 with a sl-st. (31)

Round 14:
Ch3, dc in the same st, dc in every st to the next corner, [3dc in the next, dc in every st to the next corner], repeat round, dc in the base of the beg ch3, join with a sl-st to the top of the beg ch3. (33)
Round 15:
Ch3, dc in the same st, hdc in every st to the next corner, [(2dc, ch2, 2dc) in the corner, hdc in every st across], repeat round 2dc in the base of the beg ch3, hdc join in the top of the beg ch3. (35)
Round 16:
Using Colour B
Join with a stdc in any ch2 sp, (or sl-st, ch3), dc in the same sp, bpdc in every st to the next sp, [3dc in the next sp, bpdc in every st to the next sp], repeat round dc in the sp, join with a sl-st to the top of the beg stdc/ch3. (39)
Round 17:
Ch1, 2hdc in the same st, dc in every st across to the next corner, [(2hdc, ch2, 2hdc) in the next st, dc in every st across], repeat across, 2hdc in the base of the beg 2hdc, hdc join. (43)
Round 18:
Ch1, hdc in the same st, hdc in every st to the next sp, 3hdc in the next sp, [hdc in every st to the next sp, 3hdc in the sp], repeat around. Join with a sl-st to the top of the beg hdc. Tie off (47)
Final size: 11in unblocked
Block all your squares. This is not required but will help.
Harmony Granny Square Bag – Join, Edge, Strap
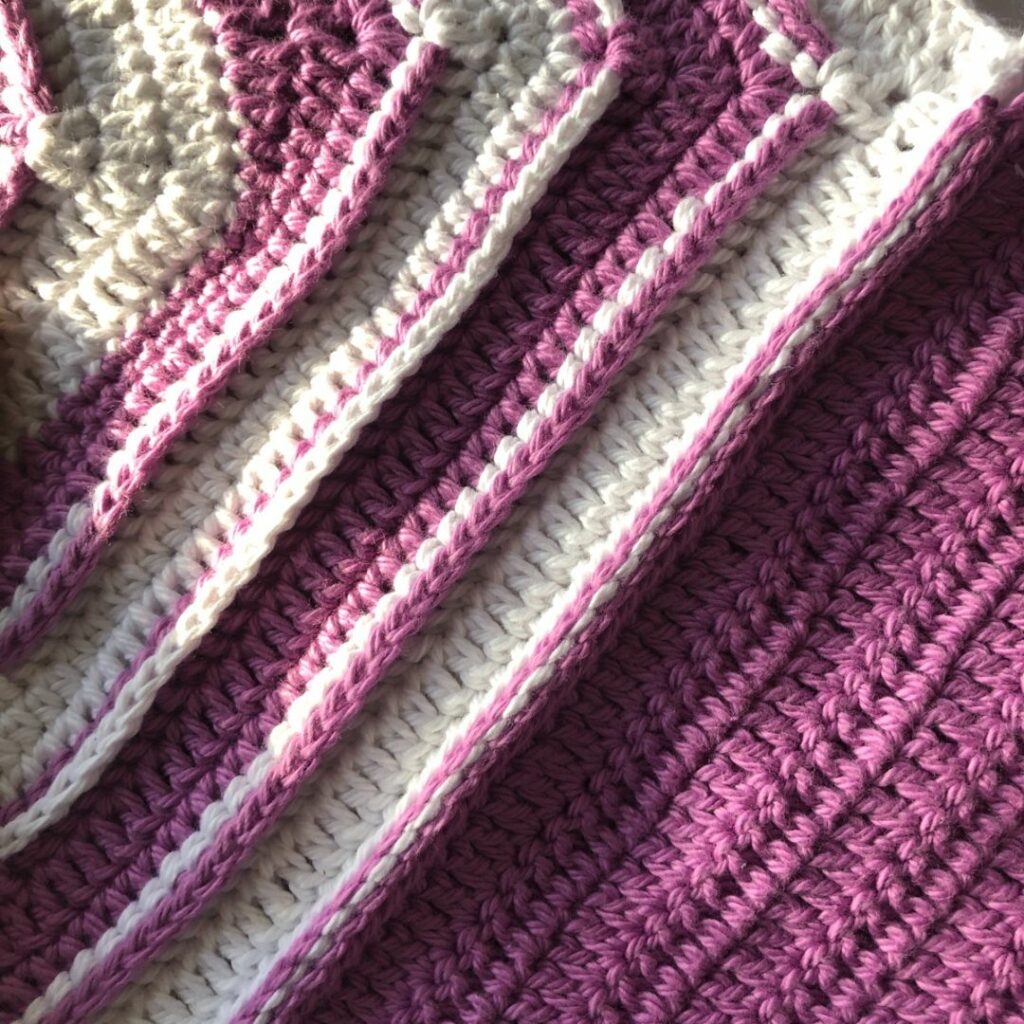
Join
To join your squares, fold all 3 in half diagonally with the right sides facing. Arrange as follows:
Base – lay as a triangle folded edge closest to you.
Sides – lay each along one diagonal side of the base – to form an envelope type shape. You will have a triangular shaped opening opposite the base.
Pin the pieces together – one marker in both stitches of the bottom corner on each side, then pin loosely up both sides to hold in place for the join
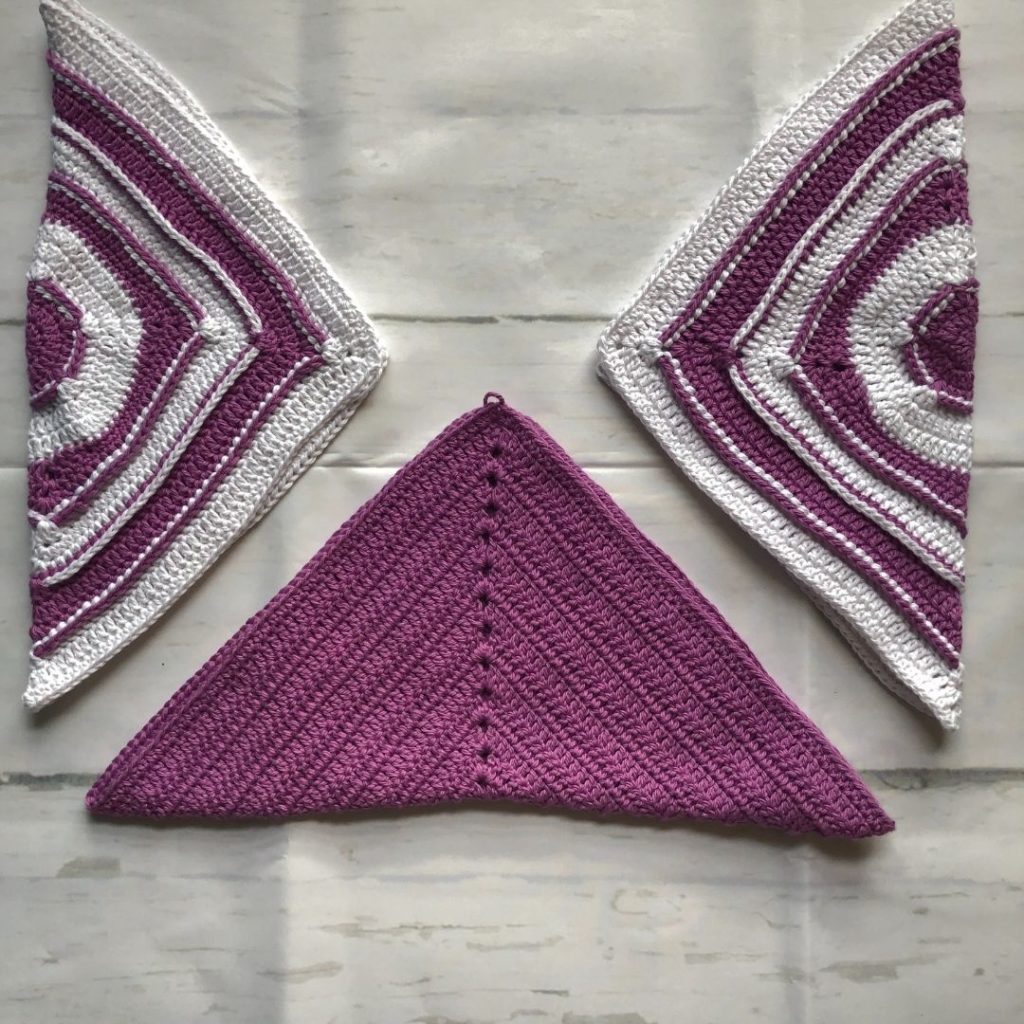
Place a marker in the top corner st of any SIDE panel. Place a second marker through the 5th st from the top of the BASE panel.
Using Colour A
Place a slip knot on your hook.
Starting in the 5th marked st, insert the hook DOWN through the back loop and third loop of the marked st of the panel that is facing you, then UP through the third loop and front loop of the opposite panel and sl-st together. (The st on the opposite panel should be the st immediately next to the corner st). Sl-st through the same 4 loops (back and third loop of the front panel, third and front loop of the back panel) along the edge to the next corner. At the corner, continue round, placing one sl-st in the corner, and in the next 47 sts. Repeat on the opposite side. Tie off and secure your ends.
Note – you can join with either the base or side squares facing you, all squares MUST be right side facing when joining.

Border:
With Colour A
Round 1:
Join with a sl-st in the last unworked st BEFORE the corner of the side panel that is joined to the base to the RIGHT of the bag as you look at it.
Ch1, sc in the same st, [(sc3tog – the stitches worked into here are the unworked corner of the side square, back loop ONLY of the st which joins the side + the front loop ONLY on the st which join the base, next sc on the base sq), sc in the next st, sc2tog, sc in the next st, sc2tog, sc in the next st, (sc3tog – stitches to work here are the next st, back loop ONLY of the st which joins the base + the front loop ONLY of the st which join the side, and the unworked corner st of the side sq), sc in the next 47 sts, ch2, sk1, sc in the next 46 sts], repeat once more. Join with a sl-st to the top of the beg sc.
Round 2:
Ch2 (does not count as an hdc), hdc in the same st, hdc in every st around, placing 2hdc in each ch2 sp. Join with a sl-st in the top of the beg ch2.
Round 3:
Ch1, hdc in the same st, hdc2tog x 4, hdc in the next 94, hdc2tog x 4, hdc in the next 93 sts. Join with a sl-st to the top of the beg hdc.
Round 4:
Ch1, sc in the same st, sc3tog, sc, sc3tog, sc in the next 91 sts, sc3tog, sc, sc3tog, sc in the next 90 sts. Join with a sl-st to the top of the beg sc. Tie off and secure your ends.
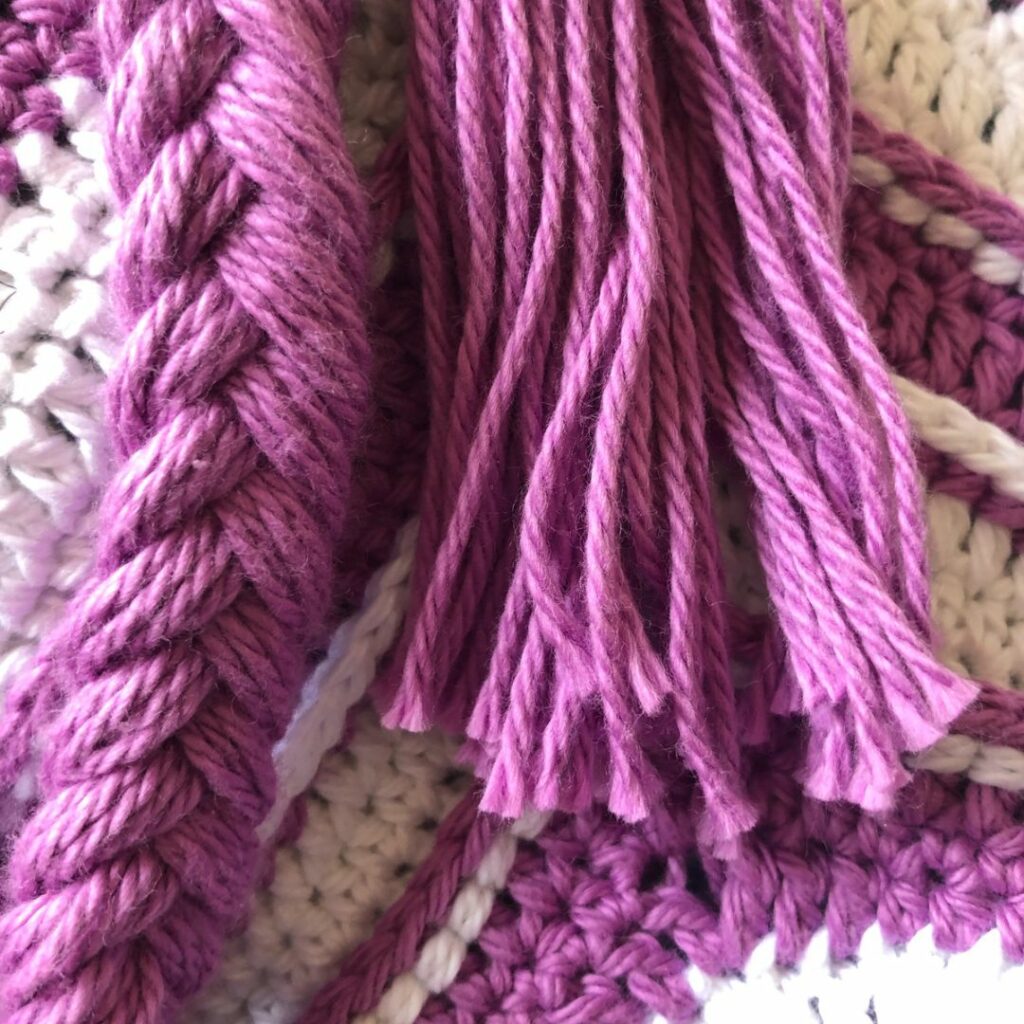
Handle
Cut approx 40 65-70 in length strands in colour A
The length of the strands will determine where your bag hangs – 55 – 60 inches will be a shoulder bag, 70+ will hang to around hip level
Twist these together so that they are ‘one’ strand. Using your hook to help pull all the strands through the ch2 space made in round 1 of the border.
Pull the strands through to approx 6-7 inches are inside the bag and tie a knot. Using your hook to help again, pull all the strands through the ch2 space two rows below. Once all the strands are through, tie a knot. You should now have a tassel hanging outside of the bag secured by two knots.
Now, turn the bag so that the tassel is facing away from you. Separate the strands evenly into 5 segments and complete a 5 finger braid until there is approx 7-8 inches of unbraided yarn left.
Take a few strands from either side of the braid and tie a knot. Twist the yarns together to form a ‘rope’ as you did at the start. Using your hook to help, pull all the strands through the front ch2 space of the first row of the border. When all the ends are inside the bag tie a knot. Then, pull all the strands through the ch2 space two rows below and tie another knot. Tie off. Secure all your ends and trim the tassels.
For an alternative handle, you could try and use a Lucet Fork to make your braided strap and then follow the instructions to attach to the bag as above.
Excited to see your Harmony Bags!
Harmony Bag Collab
Looking for a new years project with a difference? The New Years Resolution Blog Hop by Cosy Rosie UK is just what you need. Each day a new pattern will be available to download for FREE that will help you to improve your crochet skills and today, 3rd January, is the featured day of the Harmony Bag.
To find out more about the event, and get your discount code, head over to Cosy Rosie UK here.
Then, hit the button below and grab your FREE Download of the ENTIRE pattern on Ravelry here before Midday 4th January.
Don’t forget to pop into the Facebook Group and let me know what colours you plan to use and how excited you are to join!
Bye for now,
B x


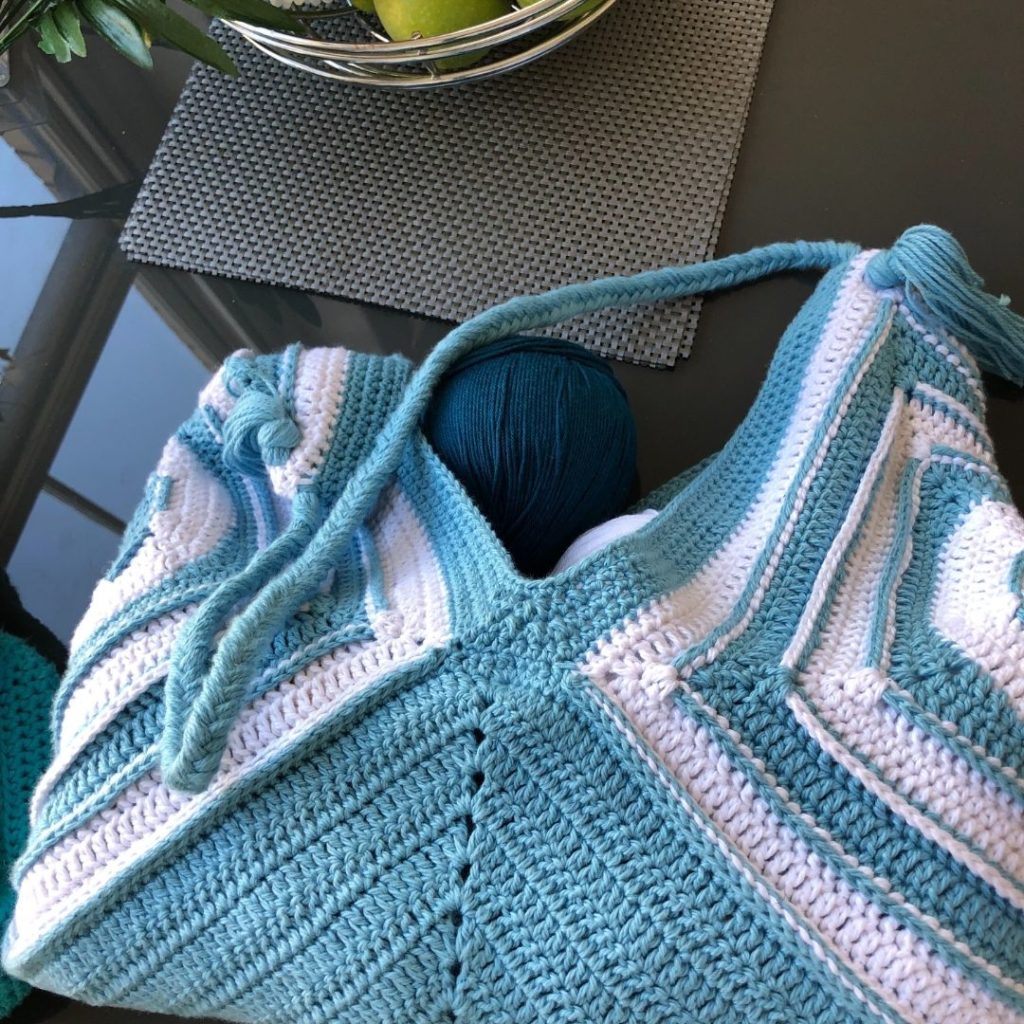





Can this bag be made taller, meaning less of a space in the opening.
Hi Lisa,
Thanks for your interest in my pattern. There are not alternative sizes for this bag.
Can this pattern be made into an Afghan ??? An all in one piece??? I’d love to do it for my granddaughter. Thank…Carol Ann
Hi Carol,
There is a blanket pattern in the making, watch this space
B x
How many stiches in the magic ring
Hi Elizabeth,
Which magic ring? In the base magic ring there are 12 stitches PLUS the chain spaces, in the side square magic ring there are 12 stitches. I hope this helps.
Please let me know if you need anything else.
B x