
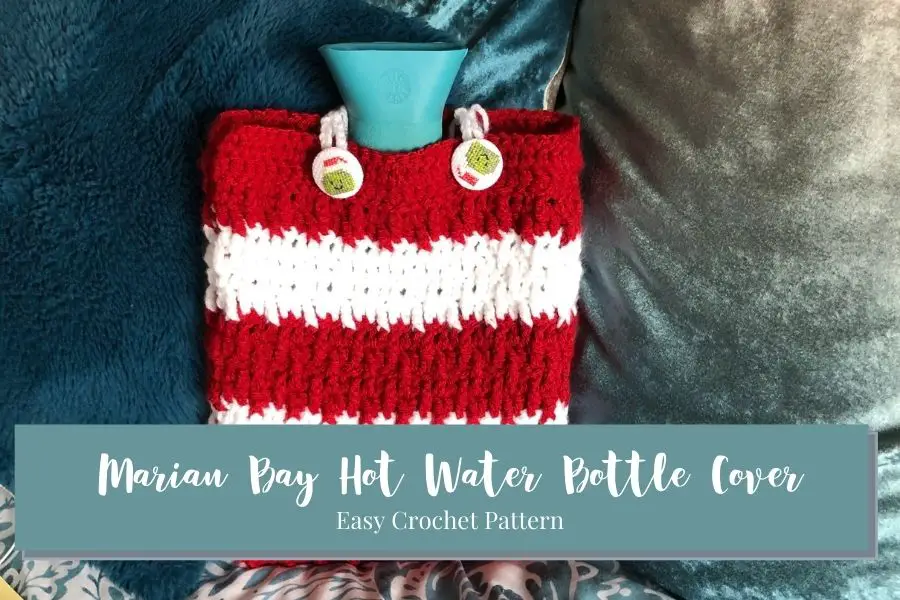
Marian Bay Hot Water Bottle Cover
This post may contain affiliate links. This means I may earn a small commission if you make a purchase from these links, at no additional cost to yourself.
Introduction
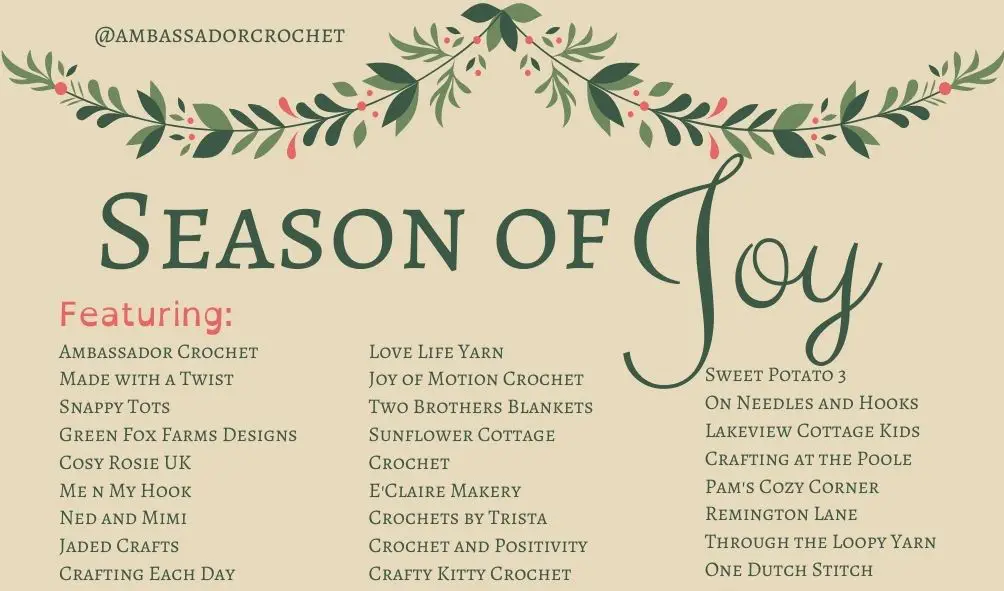
The Marian Bay Hot Water Bottle Cover was designed as part of the Marian Bay Collection, and specifically to be my contribution to the Season of Joy Blog Hop by Kristine at Ambassador Crochet. Throughout November a different pattern will be shared by an amazing group of designers and the theme is Chunky / Bulky. All the patterns are made with 5 or 6 weight yarn and are perfect quick gift makes. For a full list of the contributors, see the image below.
Scroll down to get all the details on how to make your beginner hot water bottle cover and the free pattern.

Inspiration
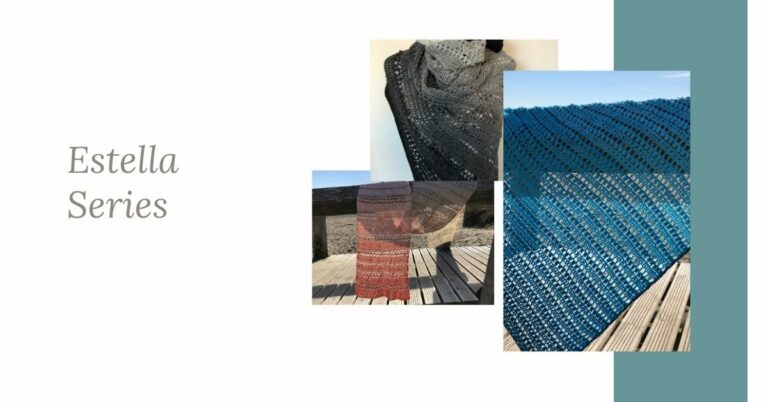
The name of the series is inspired by Marian Bay, a local beauty spot here in Pwllheli. I confess, I don’t use a lot of chunky yarn and my original plan for this blog hop was different. I had planned to make a shawl in Scarfie. Well let’s just say, we are having a time out and leave it at that. Lol.
The idea for a hot water bottle cover came about as I was using my own. Feeling a little rough I grabbed it for a little bit of comfort and as I filled it I had the usual thoughts. I’m a little weird, I am always afraid it will explode or I didn’t close the stopper properly so I check and recheck my hot water bottle cover a lot before I use it. Then I wrap it in a towel like a baby and can’t get all the heat. At that time, I had been been working on the Marian Bay Cowl and immediately came to the conclusion it would rework it – not in Merino, and the rest is history.
Yarn and Materials
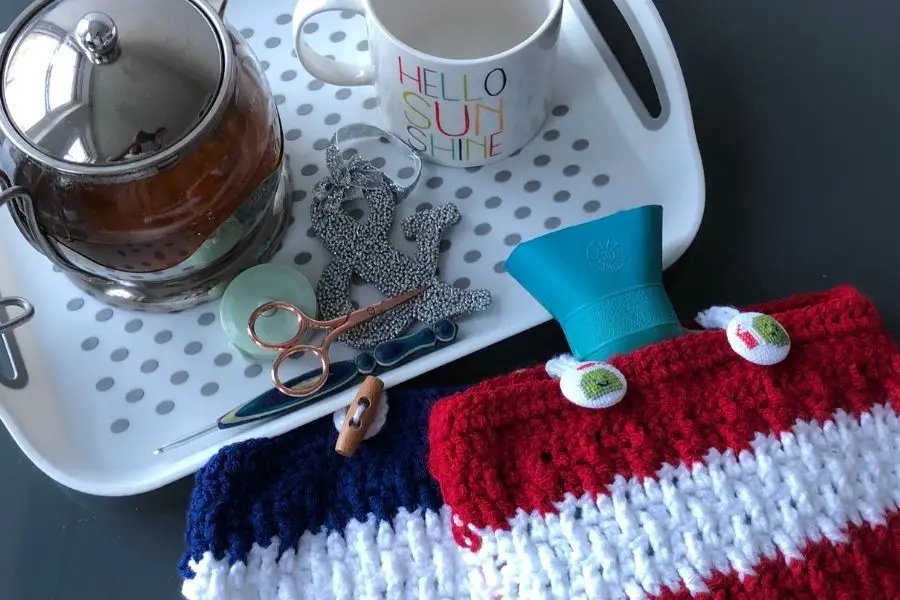
To make my cover I used Paintbox Simply Chunky, an acrylic 5 weight yarn from Lovecrafts. I have a few random balls stashed around my house from project last christmas, and this proved to be a quick easy make. As it was growing, I realised I didn’t want to totally cover the neck, I didn’t think the fabric would look that great all bunched up. I also wanted to be able to fill and refill my own hot-water bottle cover without taking it out of the cover.

The buttons used in my samples came from the Yarnsmith on Etsy. Last year I had purchased Hayley’s advent calendar and these came as part of that and I forgot I had them. I think they make a cute addition and seasonal touch. You can find more buttons and more at The Yarnsmith.
Pattern info & tips
Skill level: Intermediate
Terms: US Crochet terms
Yarn: Paintbox Simply Chunky
Hook: 5mm
Stitches used:
- Double Crochet
- Front Post Treble Crochet
- Back Post Treble Crochet
- Single Crochet
Tester Thanks
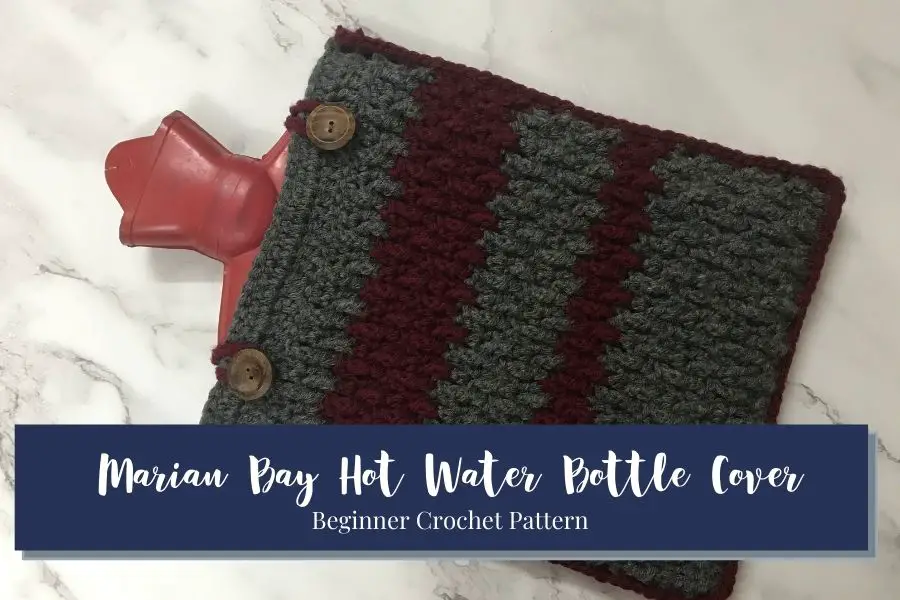
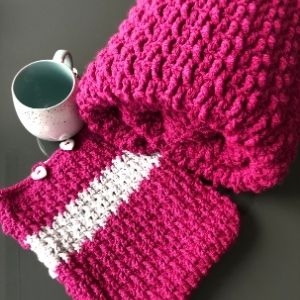
Thanks to Seema Enand for testing the pattern and providing this cute image – I love how the red and grey work together.
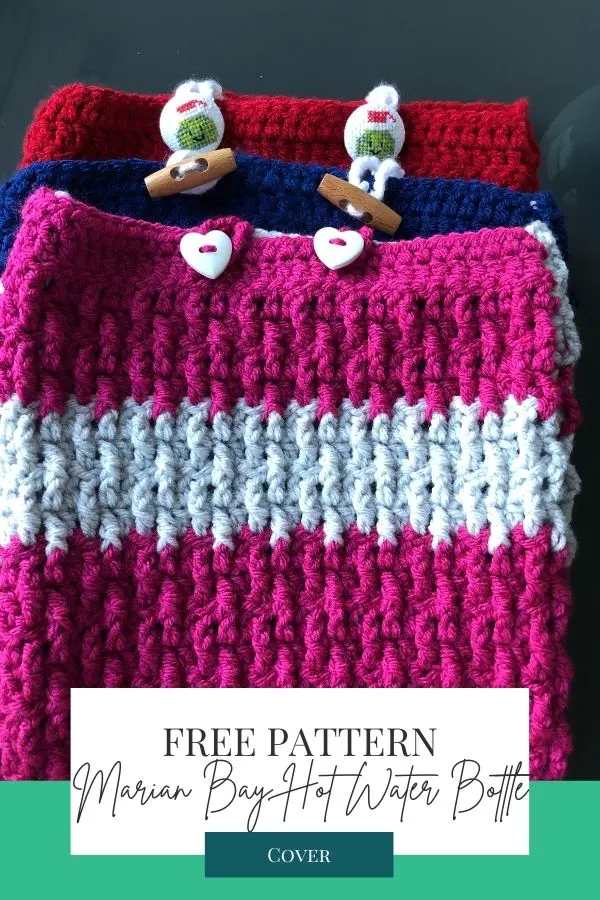
Marian Bay Hot Water Bottle Cover FREE Pattern
Skill Level: Beginner
Terms: US Terms
Yarn:
Paintbox Chunky 100g 136m/149yd
1 x Paper White no 300
1 x Red Wine no 315
Hook: 5mm
Other items:
2 x buttons of your choice, scissors, darning needle, stitch marker, thread and sewing needle
Gauge: 14dc in 8 rows = 4in
Size: 11in x 9in
Notes:
- This piece is worked from the bottom up
- Ch3 counts as a dc
Stitches:
- Single Crochet – sc
- Double Crochet – dc
- Front Post Treble Crochet – fptr
- Back Post Treble Crochet – bptr
Make 2
Start:
Ch35
Row 1:
Dc in the back loop of the 4th ch from the hook (3 sk chs counts as dc), dc in each st across. Turn (33)
Row 2:
Ch3 (counts as a dc here and throughout), fptr in the next st, [dc in the next 2 sts, fptr], repeat until 1 st remains, dc in the last. Turn
Row 3:
Ch3, dc in the next 2 sts, [bptr, dc in the next 2 sts], repeat to the end. Turn
Row 4 – 19:
Repeat rows 2 and 3 changing colours in the following rows
Rows 8 – 9 colour B
Rows 10 – 13 colour A
Rows 14 – 17 colour B
Rows 18 – 19 colour A
Rows 20 – 21:
Ch3, dc in the next st, dc in each stitch across. Turn.
IF you would like your cover to hide the funnel, complete two extra repeats before completing rows 20 – 21. Tie off and secure your ends.
Border/Join
Using Colour A
Place your pieces together, wrong side facing. Starting at the top corner, join with a sl-st, sc around 3 sides of the work, placing 2 sc in the side of each dc, and 3 sc in each of 2 corners to round them. Continue until you reach the third corner. Tie off and secure your ends.
Button Loops
Turn to right side facing
Using Colour B
Attach your buttons at even spaces on either side of the funnel of your hot water bottle in row 20 (you will need your hot water bottle to gauge this – no need to be exact.
Join colour b with a sl-st – in the st on the back of the work that is approximately behind the button, sc in the same stitch, ch14 and sc in the same sc as the beg sc. Tie off and repeat on the other side.
This chain creates the button loop – adjust your ch length depending on the size of your buttons. If you opt for the longer version, shorten your ch length.
I hope you enjoyed the post and look forward to seeing your Marian Bay Hot Water Bottle Covers!
Pop into the Facebook Group and let me know what colour you plan to make your wrap in and share your progress.
Bye for now,
B x
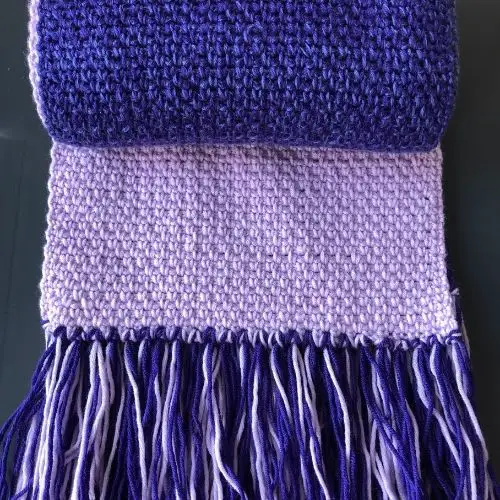
It’s a lovely pattern…I love my hot water bottle..think I’d make one in purple to match my bedroom
Thanks for the pattern! I do not use water bottles, but I think it will be good to hold something!
Hi Ro,
Thanks for commenting, you’re totally welcome. Yes you could use it for something else – will fit a tablet as a cover/case