How to use a Lucet Fork – easy tutorial
This post may contain affiliate links. This means I may earn a small commission if you make a purchase from these links, at no additional cost to yourself.
Are you looking for new ways to make cords? A Lucet Fork is a super simple to use tool that creates fun stretchy cords quickly. Read on to learn how to use a Lucet Fork.
Why a Lucet Fork? Like, what IS it?
I have been lusting after a Lucet Fork pretty much since I first saw one, when I began crocheting. Recently I was lucky enough to receive one from Furls Crochet to review and a I am super excited about it, it’s very pretty – 99% of the reason I wanted one in the first place.
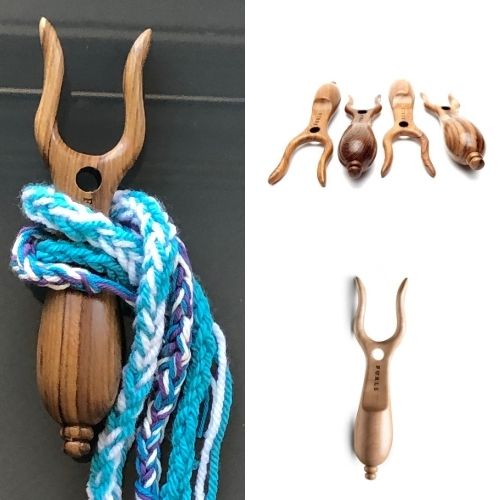
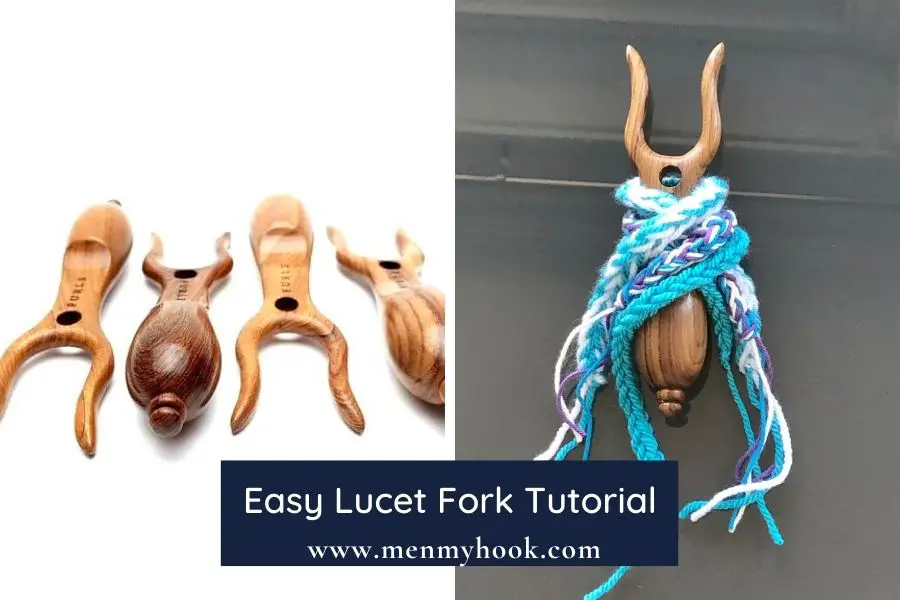
A Lucet or Lucet Fork is a small wooden hand held two pronged fork. Easy to use once you get the hang of it, there are a number of models available on the market, and this is a great option for making bag handles or as an alternative option to Icords. This tool creates a square(d) cord with one or more strands.
Furls Crochet Lucet Fork
Thank you so much to Furls for giving me the Lucet Fork to create this tutorial. Although there are a variety on the market, Furls version have a rounded ergonomic bottom, making it very comfortable in your palm. I have another with a flat handle and definitely notice the difference in how I hold it, but also how my hand feels after a little while. No shade, or names for the other product it works equally well. My Furls Lucet Fork is made of Teak and has a beautiful grain and smooth shiny surface finished off with the rounded ends. All of the woods available look beautiful online, so any option I think would be gorgeous.
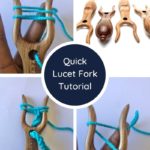
How to use a Lucet Fork tutorial
In this version we will make a simple single strand cord.

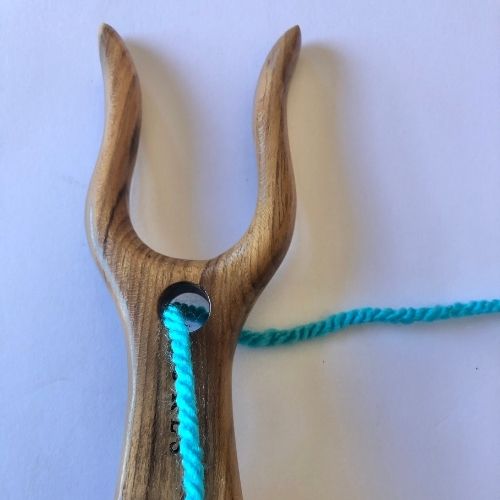
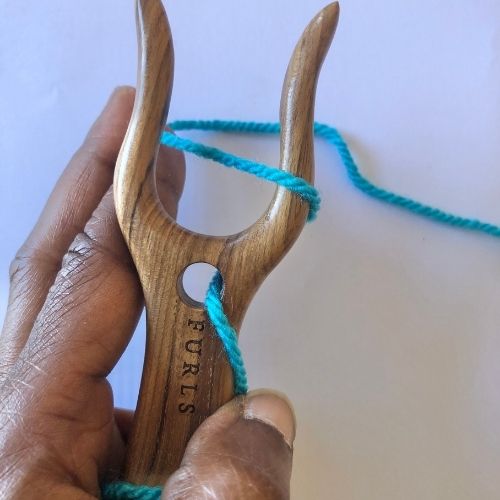
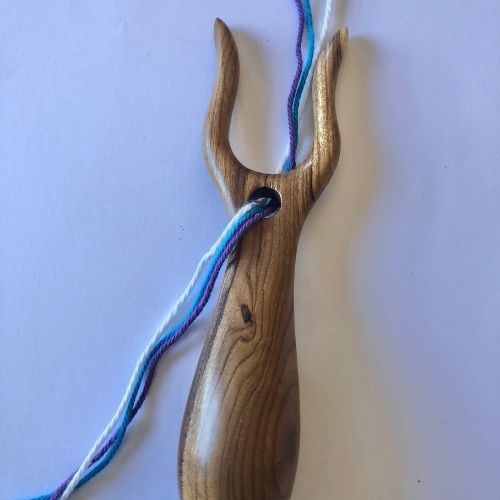
Hold the Lucet Fork in your hand and feed the yarn through the hole – back to front,
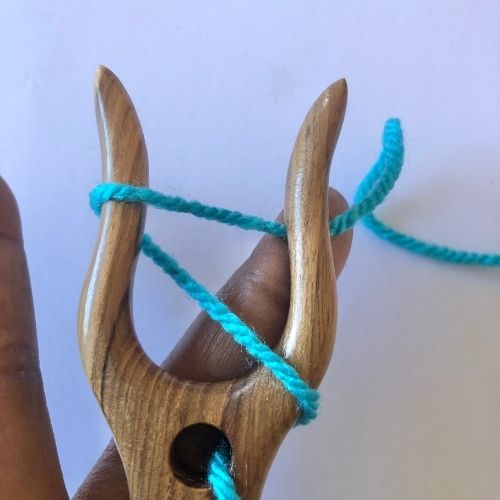
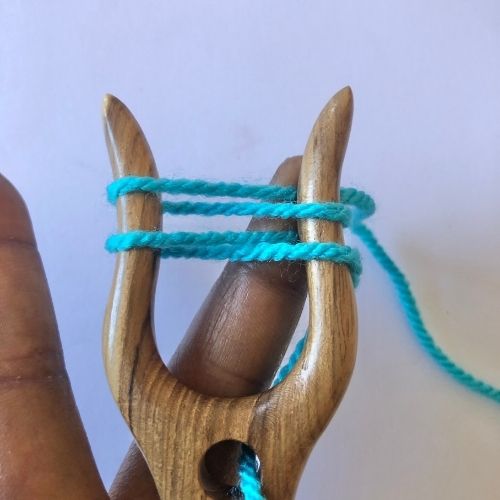
then take the working end of the yarn and working from back to front, wind the yarn around the right, and then the left prong of the tool in a figure 8 motion, twice.
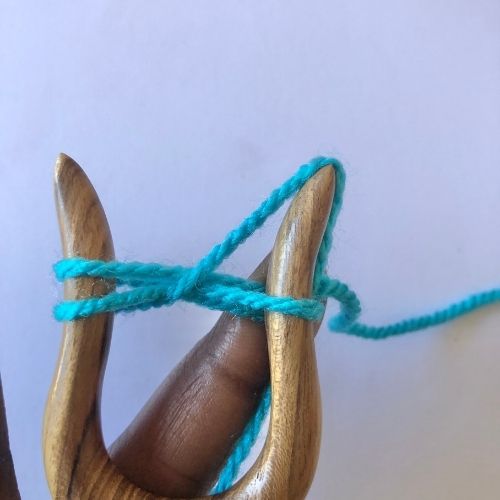
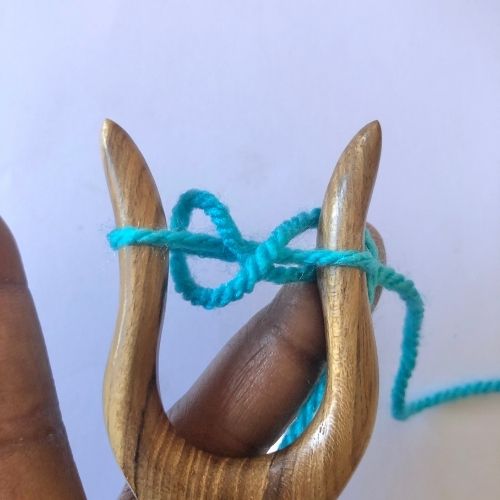
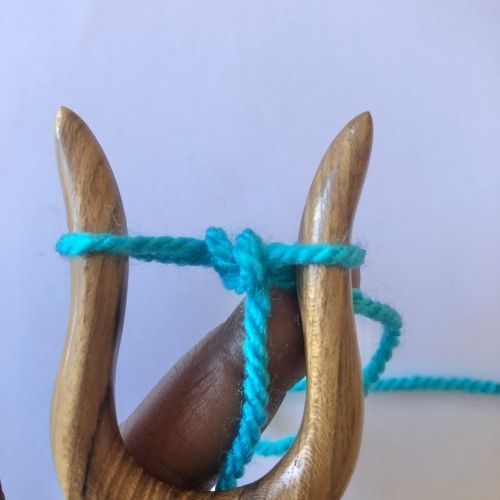
Now, using your finger, a crochet hook or other small tool, bring the bottom loop on the right prong, up and over the top and ‘off the hook’, repeat this for the loop on the left prong, and gently tighten the working end of the yarn.
*Tip – hold the loose end in your and while working, it helps to keep tension at first and also so that your loops don’t fly off while you are making your initial loops as it will be a little fiddly.
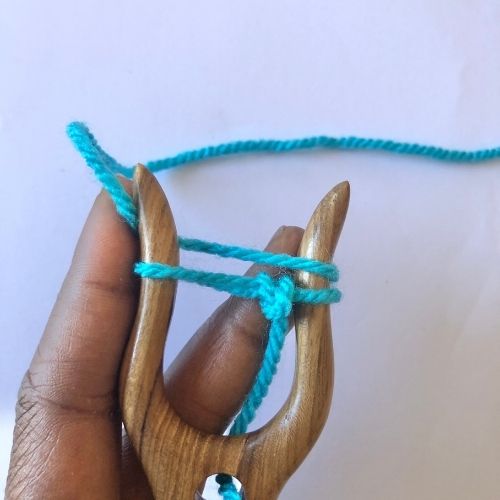
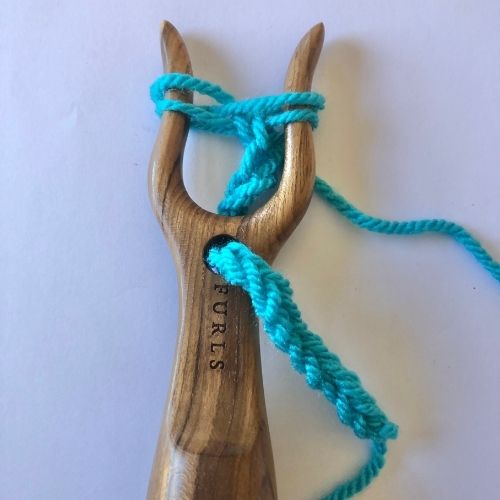
Repeat parts 2 and 3 until your chord has reached the desired length.
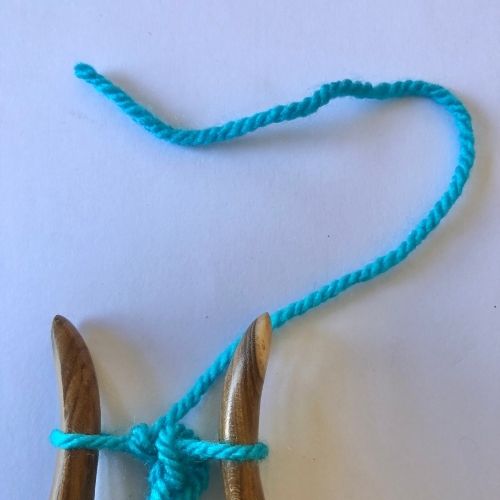
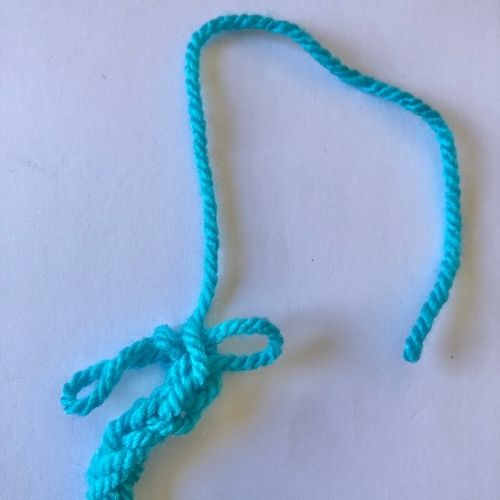
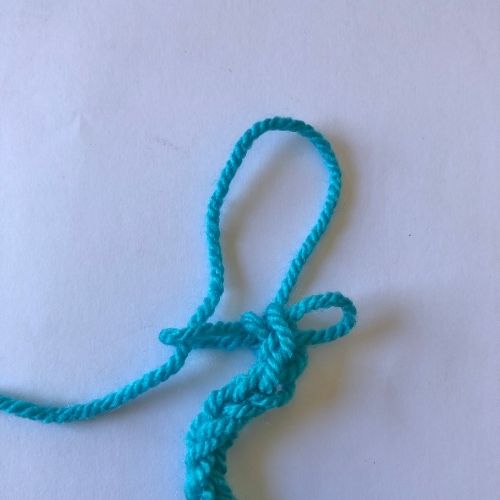
To tie off your chord, cut your working end leaving a long enough length to tie off, take both loops off the Lucet Fork, carefully. Insert your end down and through the loop on the left, and then down through the loop on the right and tighten.
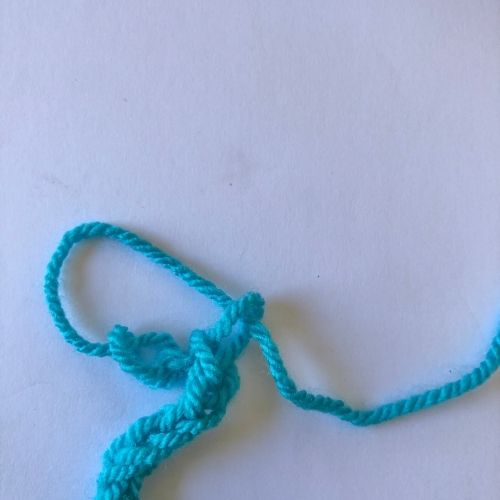
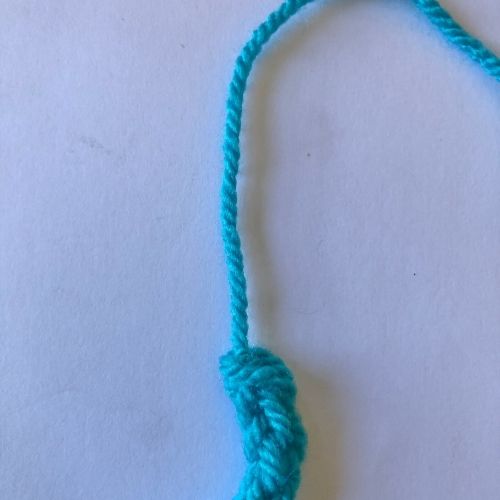
That’s the whole thing. Super simple right?
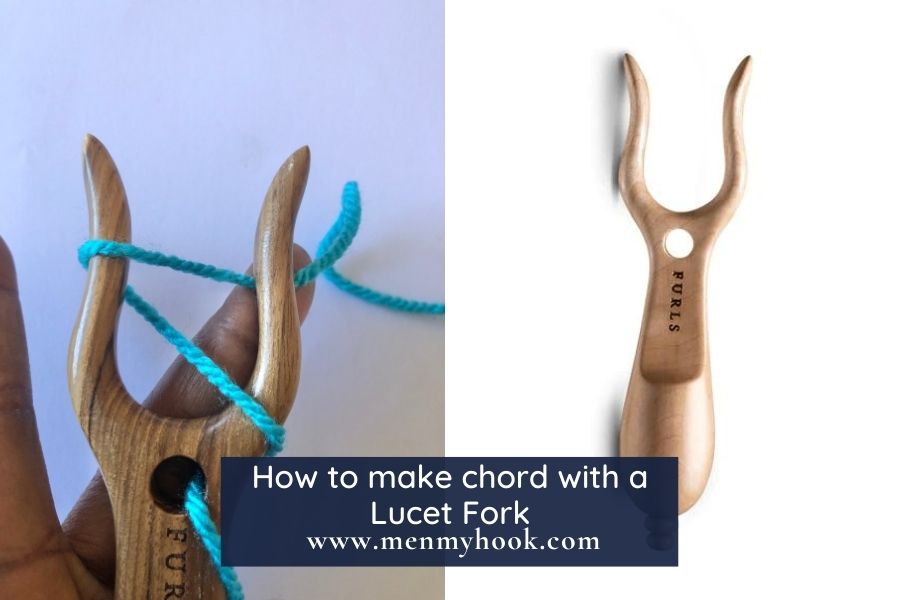
I had seen some tutorials where you turn the Lucet Fork, but for some reason I couldn’t ever make those work because my working yarn would end up in the wrong place somehow. Anyway, the chords I create with this method are firm yet springing and surprisingly easy and addictive to make as they work up so quickly.
At first, it will look a little off as you get used to it and get a regular tension so go slowly, but once you are into it and you can see your chord coming through the hole its very satisfying.
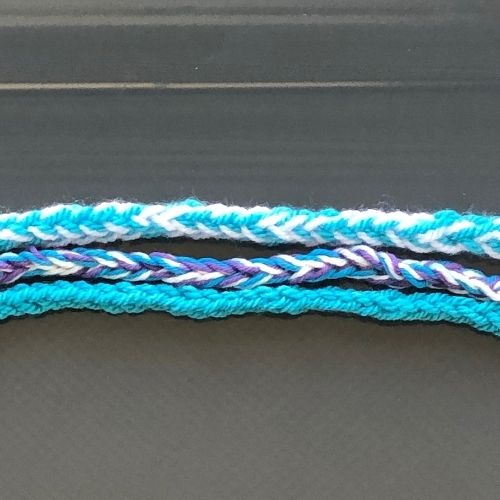
Two (or more) colour chords
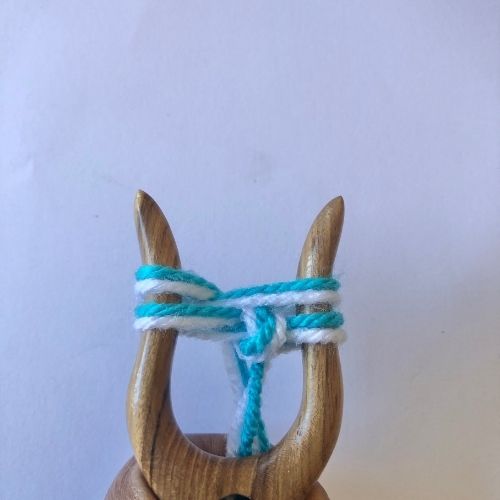
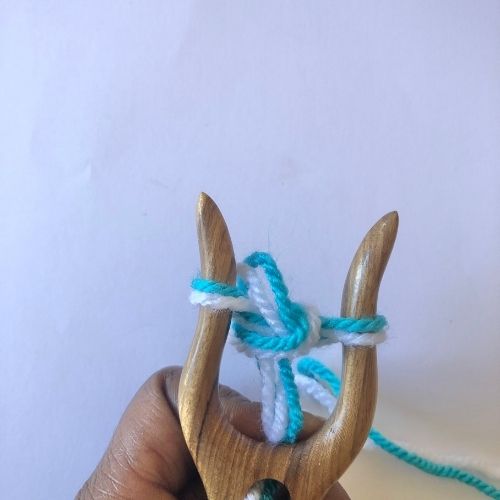
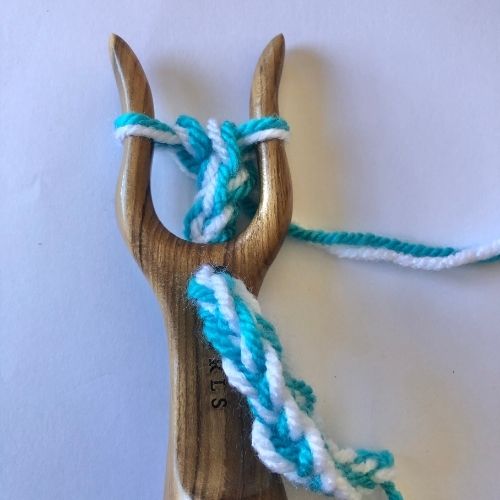
An alternative to a single colour chord is a multi colours. Depending on the thickness of your yarn and the size of the hole on your Lucet Fork, the method is the same, it just becomes a matter of ensure that you pick up all the strands on each time and are careful to make sure that you are collecting them from the right ‘loop group’ – hopefully that last bit makes sense.
To create my chords I used Paintbox Simply Aran for the single and 2 stranded chord, and xx dk in for the 3 coloured examples.
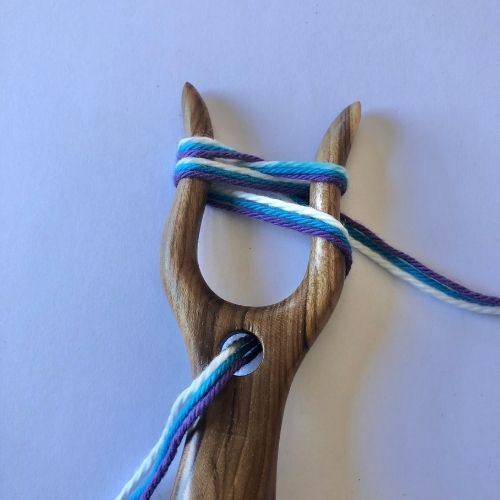
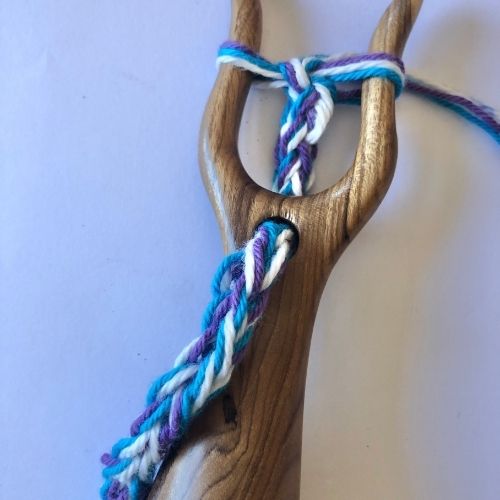
For my chords, I have made wrist loops for my Marian Bay and Houndstooth Clutches so that I don’t have to carry them all the time in my hand and it also adds another little touch that is different to my usual sc or hdc chain strip.
I hope you enjoyed the post.
Check out the Harmony Bag, which has a braided strap, but that could easily be swapped for a chord!
I hope you enjoyed the post, don’t forget to pop into the Facebook Group and share your wip’s and FO’s especially those including chords I would love to see them.
Bye for now,
Bx




I have looked at *so many* lucet tutorials and this was the first one I was able to follow! The pictures and descriptions are so helpful and easy-to-understand. I’m having so much fun now making cords. Thank you!