Easy Linen Stitch Scarf
This post may contain affiliate links. This means I may earn a small commission if you make a purchase from these links, at no additional cost to yourself.
Introduction
Simple, classic every day scarf is what EVERYONE needs in their wardrobe. The easy Linen Stitch scarf is just that. A beginner pattern, this scarf is worked up quickly with dk Merino to create a warm addition to your winter wardrobe or a versatile gift.
Continue below to find out how to make your easy Linen Stitch Scarf.

Inspiration
I love scarves, they are an easy win to add a pop of colour to an outfit. Also, I like layers rather than one massive piece, so scarves work well in my wardrobe. Now of course, having multiple scarves is an option. OR if you are from the less is more Gok Wan school of fashion, then simple and timeless is possibly the way to go.
Being a mum of boys, and someone who prefers simpler patterns/prints, the easy linen stitch scarf is the closest I have come so far in creating something that, a – I can wear myself, and b – Myles, my 6yo, can wear as well. And we can have matching scarves. I think this pattern fits the bill but the men in my life don’t agree!

Yarn and Materials
I used 1 Scheepjes Whirl Fine Art and 2 Scheepjes Merino Soft to create my scarf. The Fine art is a cake from the Scheepjes dk ombre weight line. Each ombre cake is 215-225g / 460m of 50% Merino 25% Acrylic and 25% Micro Fibre yarn. The retail price is £29.99.
The solids have a similar fibre construction but come in 50g/105m balls at £4.49 each. For help matching your cake with a solid check out this blog post by Simy’s Studio
It is by no means compulsory to use this yarn. Any single colour or combination of colours of dk weight yarn will work. I would advise against roving style yarns and that you stick to regular acrylic, blend or more tighter wound and plied yarns.
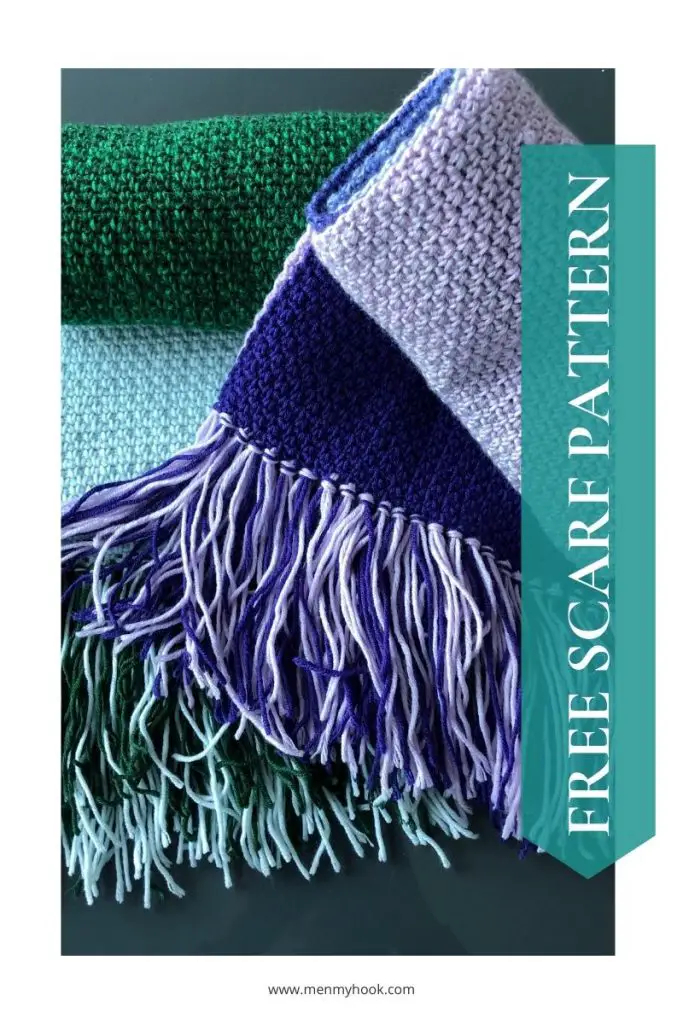
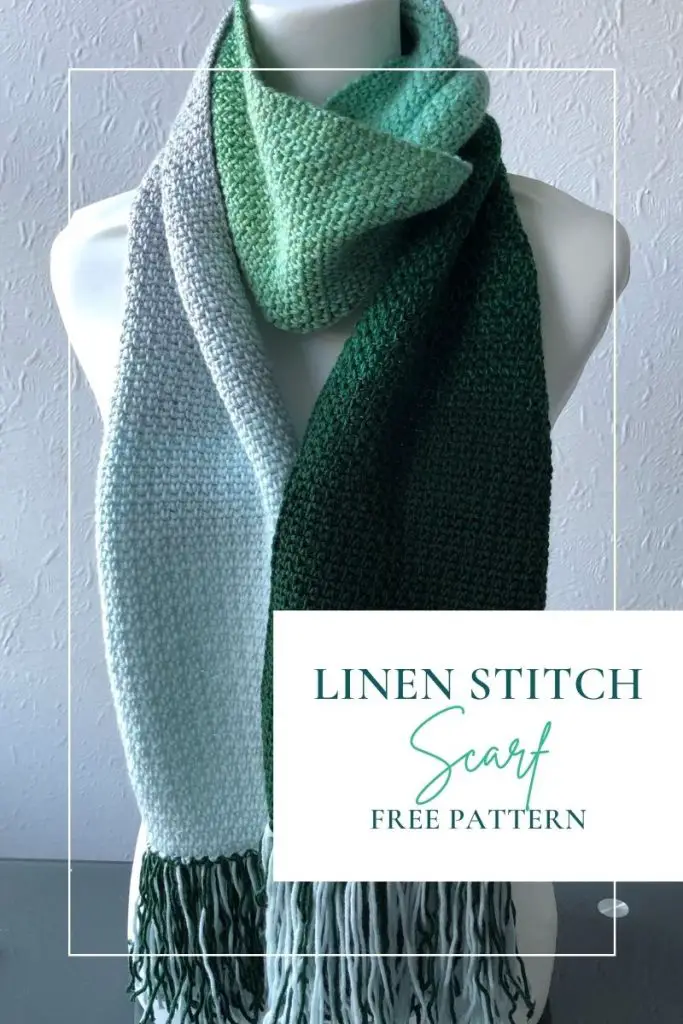
This simple pattern will create a beautiful scarf in solids, or alternative cake and varied yarns. I have included instructions on where/how to join colours to achieve the same colour effects as I have in the scarf below.
Pattern info & tips
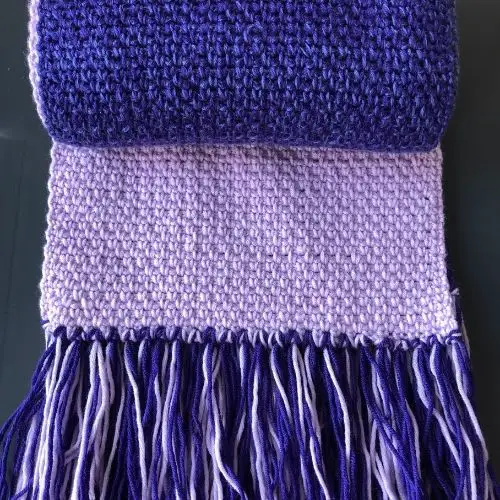
The linen stitch is what I call a beginner stitch pattern. It creates a dense fabric and it has simple clear lines. Made entirely from single crochet and chain spaces, it is the kind of stitch that I like because it allows the yarn to shine through and be the focus of the work.
Skill level: Beginner, Easy
Terms: US Crochet terms
Yarn: 1 x Scheepjes Whirl Fine Art, & 2 x Scheepjes Merino Soft
Hook: 4.5 & 5mm
Stitches used:
- Single crochet
- Chains

Linen Stitch Scarf Collabs
It’s Autumn and that means its scarf and cosy season and the Shades of Autumn Blog Hop is bringing you all the cosy things you need to get you into the spirit of the season. Today, 20th October, is my featured day and you can grab a copy of the Linen Stitch Scarf for FREE. To find out more, head over to the main event blog post via the button below
Then hit this button to grab your FREE pdf download before 8am EST tomorrow.
Missed a few days? Love all the cosy things? Grab all the patterns featured in the Shades of Autumn Blog Hop in the bundle via the button below.
Buy your copy of the Linen Stitch Scarf pattern pdf here
Linen Stitch Scarf Free Pattern
Skill Level: Beginner
Terms: US Terms
Materials used:
- Scheepjes Whirl Fine Art 215 – 225g 460m Impressionism
- Scheepjes Merino Soft 50g 105m – 1 x Chagall & 1 x Bellini
- OR 650 – 700m of any dk weight yarn
Hook: 4.5mm & 5mm
Other items: Scissors, darning needle, stitch marker
Gauge: 22sc x 22 rows
Size: 9ins x 68 ins without fringe
Notes:
- This pattern includes instructions for the colour order I chose – I like colour to flow in an “order” usually and so are included for reference but using your own colour placement with this stitch pattern will also work
- Ch1 at the start of a row does NOT count as a stitch
- I used a smaller hook to make my chain as i find it keeps it tighter/neater – again this is not essential, if you prefer to stick to one hook as long as you maintain an even gauge you will be successful
Stitches:
Single Crochet – sc
Chain – ch(s)
Slip Stitch – sl-st(s)
Colour Key
A – Bellini – Merino Soft
B – Impressionism – Whirls Fine Art
C – Chagall – Merino Soft

Start:
Set aside approx 10g from each of colours A & C for the fringe.
Using colour A & 4.5mm hook – Ch 52
Row 1:
Using 5mm hook,
Sc in the 2nd ch from the hook (sk ch does NOT count as a st), [ch1, sk1, sc in the next st], repeat across to the end of the row. Turn
Row 2:
Ch1 (does not count as a st), sc in the first st, sc in the ch1 sp, [ch1, sk1, sc in the next sp], repeat until the last sp, sc in the next st. Turn
Row 3:
Ch1, sc in the first st, [sk1, sc in the ch1 sp], repeat until the last ch1 sp, ch1, sk1, sc in the last st. Turn
Row 4:
Ch1, sc in the first st, sc in the ch1 sp, [ch1, sk1, sc in the next ch1 sp], repeat until the last ch1 sp, sc in the next st. Turn
Row 5 – end:
Repeat rows 3 & 4 until the piece measures 68 – 69 ins long. Tie off and secure your ends.
Colour placement
I used colour A until the remaining 40g of the yarn was finished ending on a row 4.
I then joined Colour B from the outside of the cake and used the entire cake, again ending on a row 4.
Finally I joined Colour C and used this until it was finished – ending on row 4.

Fringe:
Cut the 10g of each colour A & C into 12 inch strips. Also include any remaining yarn from the body of the scarf.
I used 3 strands per fringe section, using both colours. To create the colour effect with the fringe I used an additional strand of the colour that was opposite the end that I attached the fringe to.
On the Chagall side this is 2 strands Bellini and 1 Chagall, on the Bellini side I did the reverse.
I used ALL the yarn from the skeins listed to complete this pattern.
Tips
Use the markers as a visual guide as to WHICH row of the repeat you are completing to ensure you keep straight sides and are in the right place. I use different coloured markers for each side, and mark the pattern with the colour to aid this also.
I hope you enjoyed the post and look forward to seeing your fringed linen stitch scarves!
Pop into the Facebook Group and let me know what colour you plan to make your wrap in and share your progress.
Bye for now,
B x

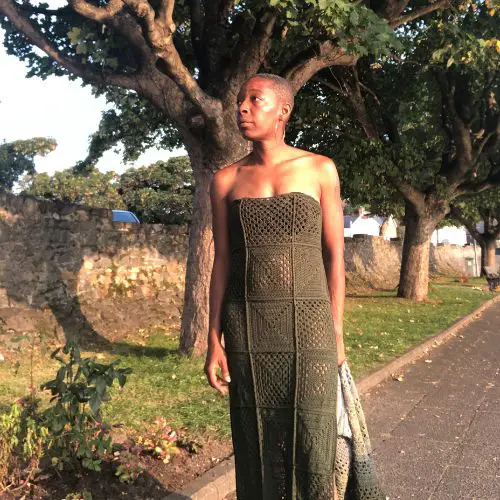

What colors did you use for the green scarf?
If you look up the “Sheepjes – Whirl fine art” collection you’ll find a chart (e. g. On the sheepjes website) which shows the ombre skein and the matching colour’s to the start and end of the skein.