Easy beginner crochet jar cover – Marian Bay Jar Cosy
This post may contain affiliate links. This means I may earn a small commission if you make a purchase from these links, at no additional cost to yourself.
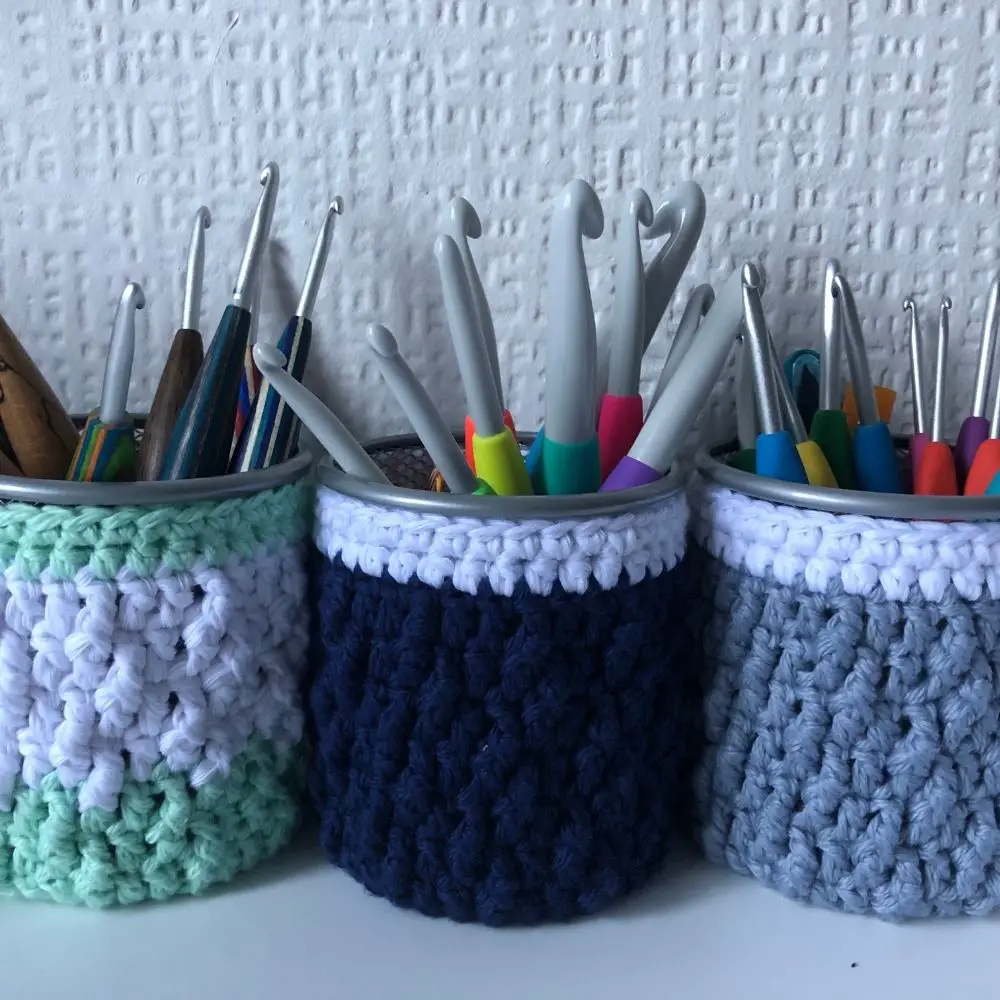
Looking for a quick easy way to add a splash of cover to your jars or co-ordinate your home decor? This quick easy beginner crochet jar cover is just what you need. The Marion Bay Jar Cosy is a super quick crochet jar cover, or mason jar cosy with a bottom. Made in one piece, and a simple repeating stitch pattern, create your own crochet jar covers with a bottom while you watch the latest episode of your fav show on Netflix!
To find out how to make your own, read on to access the free pattern, or details on how to get your copy below.
Easy beginner crochet jar cover inspiration
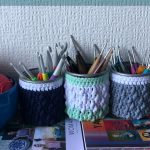
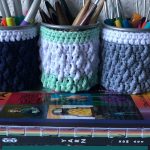
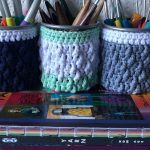
I am moving house soon, but also trying to organise myself and have these uninspiring pen holders from Wilko’s to keep my hooks in. Lusting after the gorgeous creations of my co-work crew member Julie from J2Craftworks, but unable to justify the shipping I kept telling myself that I would jazz these up at some point and make myself some easy crochet jar covers.
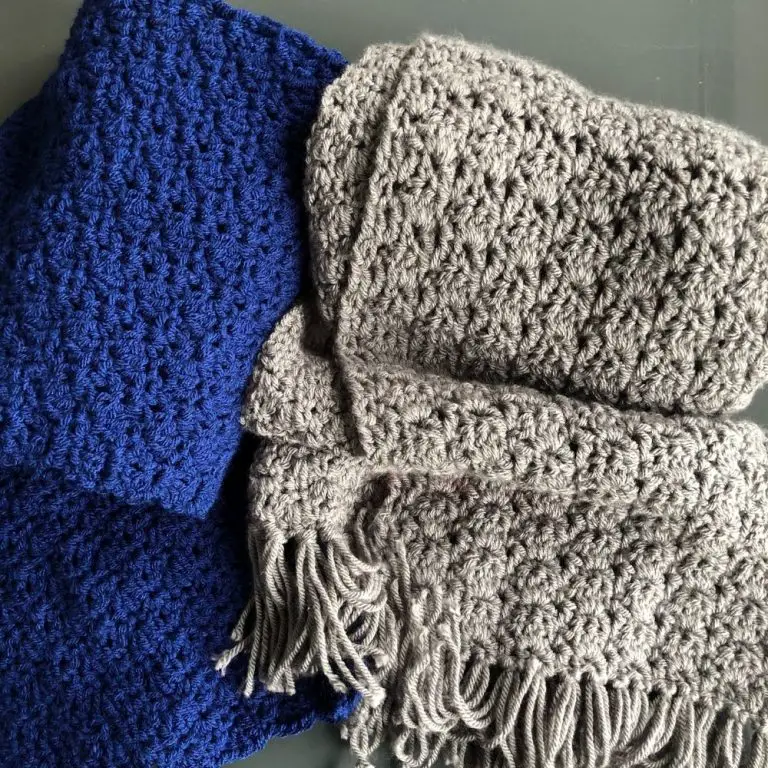
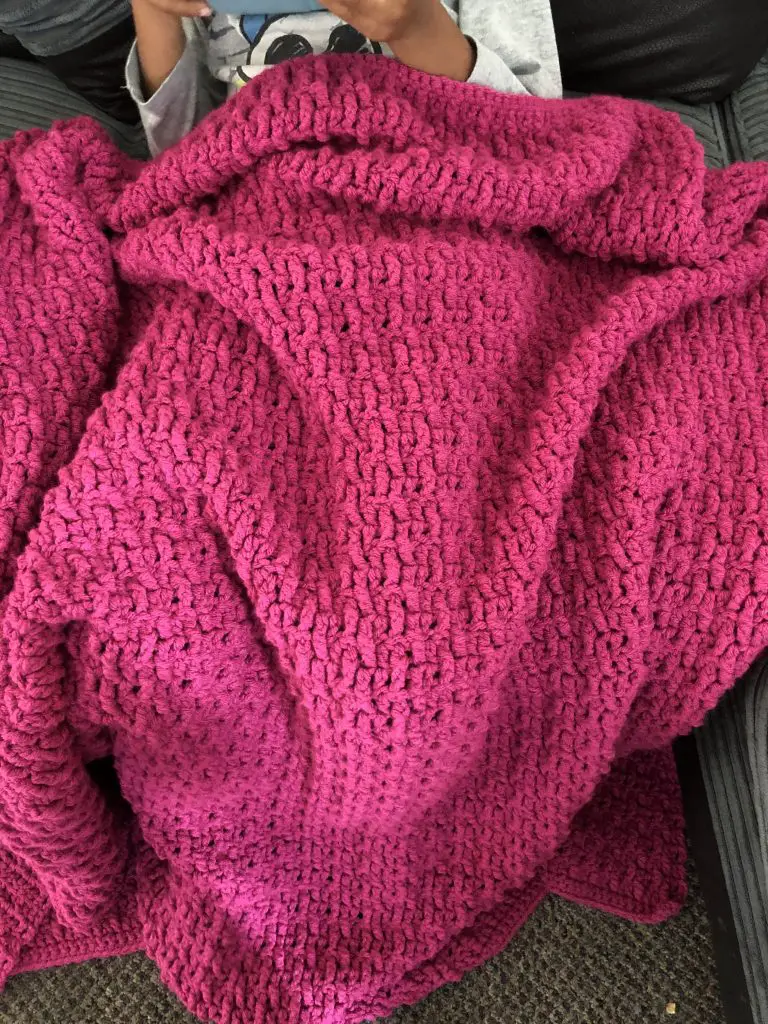
I chose the Marian Bay stitch pattern because I’m a little obsessed with it. I was also in the process of designing the soon to be released Marian Bay Bag pattern and it was a way to finish off my scraps of yarn and make a quick filler project. I like matching or co-ordinating soft furnishings and can’t wait to make myself a matching Marian Bay Throw to add to my bedroom.
Free crochet jar cosy yarn and materials
To make my crochet jar cosy, I used King Cole Cottonsoft DK – double stranded/with two strands held together. I don’t have alot of thicker weight yarn in my stash, and this tactic means they will stand up fairly sturdily on their own without needing further stiffening. And they will hold up to wear and tear a bit more – I do keep moving them around.
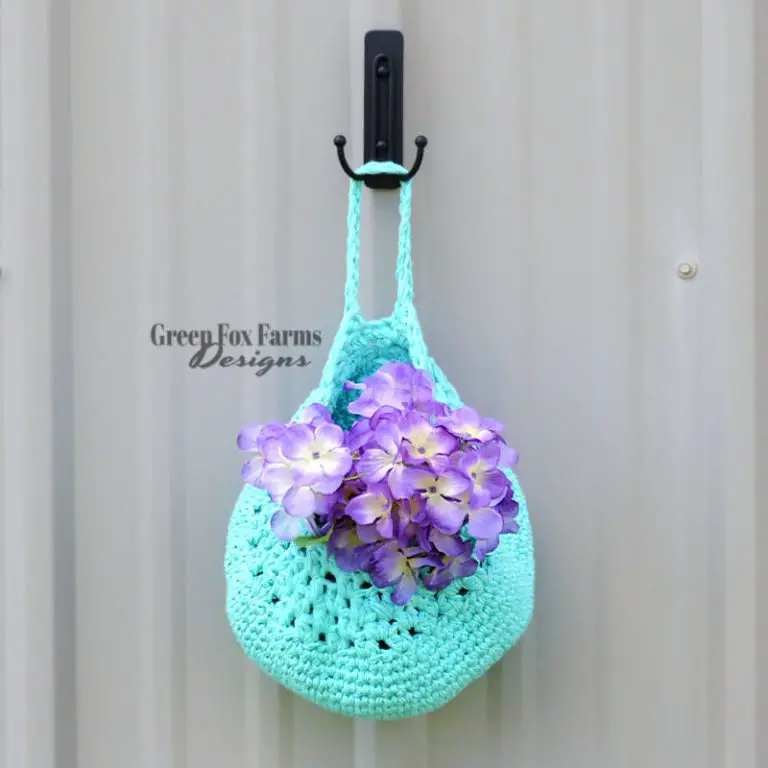
If you don’t have this yarn totally stash bust and use Aran or Chunky. If you use the exact same information you will get a medium/large sized basket or bowl.
Pattern info & tips
While I have rated this an easy beginner crochet jar cover pattern, there are some techniques in here that may be new for beginners. That doesn’t make it unattainable for complete beginners, just possibly a little more challenging.
Mason jar cosy success tips
- Magic Ring – this trips up a lot of people and there are some days that I can’t get it right the first time still. If you haven’t made a magic ring before, or don’t like them, this isn’t a deal breaker when making your crochet jar cover. Choose your favourite alternative way to start a circle and then proceed.
- Working in the round – I didn’t turn my base section. If you prefer the way a circle looks when you turn on each round, do. BUT. Note where you should stop this and work without turning in the pattern instructions. This is important and will affect the actual pattern and visual effect in your easy beginner crochet jar cover
- When working in the repeating pattern note that doubles are always placed in the tops of trebles on the next round.

Terms: Pattern is written in US crochet terms.
Skill level: Beginner, easy
Hook: 4.5mm – I use Clover Amours usually, this time I used my trusty handmade hook – with a clover insert from Bowltech Crochet Hooks
Yarn: 40gms of ANY dk weight yarn
Stitches used:
- Single Crochet
- Half Double Crochet
- Double Crochet
- Front Post Treble Crochet
- Back Loop only Single Crochet
Techniques:
- Magic Ring
- Working in round
Marian Bay crochet jar cover pattern
Buy your copy of the easy beginner crochet jar cover pattern, the Marian Bay Jar Cosy here
Marian Bay crochet jar cosy free pattern
Skill Level: Beginner
Terms: US Terms
Materials used:
40gms dk weight yarn
Hook: 4.5mm
Other items:
Scissors, darning needle, stitch marker
Gauge: 14 dc x 8 rows
Size: 3.5in base diameter x 4 inches

Notes:
- This pattern is worked using two strands of yarn held together
- Ch3 counts as a double crochet
- Ch1 does not count as a sc
- Ch2 does not count as a hdc
- This piece is worked in the round, without turning. You may prefer to turn when creating the base, if so please do NOT turn after round 6. From here your work should be right side facing before you begin round 7.
Stitches:
Magic Ring – mr
Single Crochet – sc
Half Double Crochet – hdc
Double Crochet – dc
Back Loop Single Crochet – blsc *see special stitches
Front Post Treble Crochet – fptr
Slip Stitch – sl-st
Special Stitches:
Back Loop Single Crochet (blsc) – single crochet in the back loop ONLY of the specified stitch.

Start:
MR
Round 1:
Ch3 ( – counts as a dc here and throughout), 11 dc into the mr. Join with a slip stitch in the top of the beg ch3. (12)
Round 2:
Ch3, dc in the same st, 2dc in each st around. Join with a sl-st to the top of the beg ch3. (24)
Round 3:
Ch1 (- does not count as an sc), sc in the same st, 2sc in the next st, [sc in the next st, 2sc in the next st], repeat round. Join with a sl-st to the top of the beg sc. (36)
Round 4:
Ch1, blsc in the same st, blsc in each st around. Join with a sl-st to the top of the beg blsc. (36)
Round 5:
Ch3, dc in each st around. Join with a sl-st to the top of the beg ch3. (36)
Round 6:
Ch3, fptr in the next st, [dc in the next 2 sts, fptr in the next], repeat round until 1 st remains, dc in the next st. Join with a sl-st to the top of the beg ch3. (36)
Round 7:
Ch3, dc in the next st, fptr in the next st, [dc in the next 2 sts, fptr in the next] repeat round. Join with a sl-st to the top of the beg ch3. (36)
Rounds 8 – 11:
Repeat rounds 6 & 7 twice. (36)
For taller jars, make additional repeats of rounds 6 & 7, until you reach just approx 1 inch below the lip of your jar and then continue on to complete with rounds 12 & 13.
Round 12:
Ch2( – doesn’t count as a hdc), hdc in the same st, hdc in each st around. Join with a sl-st in the top of the beg hdc. (36)
Round 13:
Ch1, sc in the same st, sc in each st around. Join with a sl-st to the top of the beg sc. Tie off and secure your ends.
I hope you enjoyed the post and look forward to seeing your Marian Bay Jar Cosies !
Pop into the Facebook Group and let me know what colour you plan to make your wrap in and share your progress.
Bye for now,
B x
